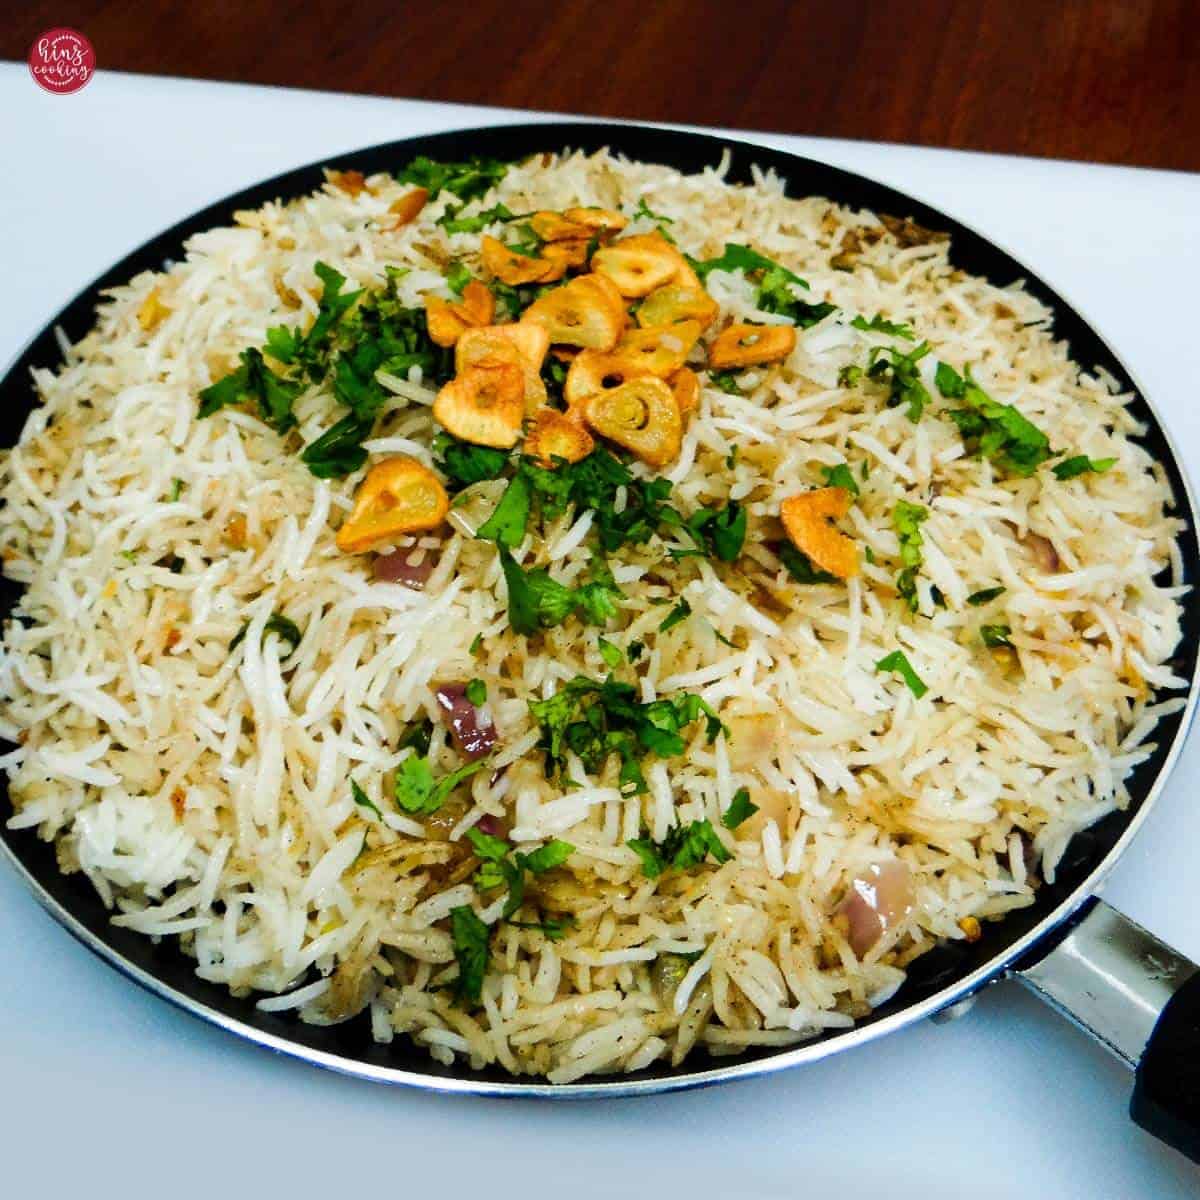
Garlic Butter Fried Rice (No Eggs, Leftover Rice Recipe)
A quick, no-egg garlic fried rice made from leftover cooked rice, finished with two forms of garlic — grated garlic cooked into the rice for background flavor, and crispy fried garlic sliced on top for crunch. Inspired by Filipino sinangag, ready in 15 minutes, and the perfect side for curry, grilled chicken, or kebabs.
Print
Pin
Servings: 3 Persons
Calories: 339kcal
Ingredients
- 2 cups Cooked Rice (preferably day-old, basmati or jasmine)
- 2 cloves Garlic thinly sliced — for frying
- 1 tablespoon Oil (neutral oil) for frying garlic
- 3 teaspoons Butter unsalted butter, manage salt if using salted
- 1 teaspoons Grated garlic for the base
- 2 teaspoons Onion finely chopped
- 1 teaspoons Green chilies finely chopped — optional
- 1 teaspoons Salt
- ½ teaspoons Garlic Powder
- ½ teaspoons Black Pepper Powder freshly ground
- 2 tablespoons water or broth added while saúteing
- 1 tablespoon Fresh Coriander/Cilantro for garnishing
Instructions
- Prepare the rice (or use leftovers): If using freshly boiled rice rather than leftovers, wash the rice and soak for 10 minutes before boiling, then drain thoroughly and let it cool completely. For the best texture, cook rice a day ahead and refrigerate overnight — day-old rice fries far better than fresh. If you already have leftover cooked 2 cups cooked rice (preferably day-old, basmati or jasmine), skip ahead to the next step.
- Fry the garlic for garnish: Heat 1 tablespoons neutral oil — for frying garlic in a pan over medium heat. Add the sliced garlic (2 garlic cloves, thinly sliced — for frying) and fry gently, stirring occasionally, until light golden brown — this takes about 2–3 minutes. Watch closely in the final moments as garlic can go from golden to burnt within seconds. Remove immediately with a slotted spoon and set aside on a paper towel. This crispy garlic is for garnish only — do not mix it into the rice yet.
- Build the garlic butter base: In the same pan, add 3 teaspoons unsalted butter and let it melt over medium heat — not high, as butter burns and turns bitter quickly. Add the grated garlic (1 teaspoons garlic, grated — for the base), chopped onion (2 teaspoons onion, finely chopped), and green chilies (1 teaspoons green chilies, finely chopped — optional) if using. Saúte for about 1 minute 01:00, just until fragrant and the onion starts to soften.
- Season the base: Season the pan with 1 teaspoons salt, 0.5 teaspoons garlic powder, and 0.5 teaspoons black pepper, freshly ground. Stir to combine. Add 2 tablespoons water or broth — added while saúteing and mix well over high heat — this lifts any flavor stuck to the base of the pan and creates a light coating for the rice to absorb.
- Fry the rice on high heat: Add the cooked rice to the pan. Turn the heat to high and stir-fry, tossing frequently so every grain contacts the garlic butter base. This high-heat stage is what gives the rice its proper fried texture — distinct, slightly toasted grains rather than soft, steamed ones. Fry for 2–3 minutes, tossing constantly.
- Steam briefly to finish: Cover the pan and let the rice steam over low-medium heat for 5 minutes. This softens the rice slightly and lets the flavors settle through every grain. Do not steam longer than this — over-steaming turns the rice mushy and undoes the texture built in the previous step.
- Re-fry briefly and plate: Uncover the pan and fry the rice again briefly over high heat for about 1 minute to firm the texture back up. Transfer to a serving platter.
- Garnish and serve: Top the rice generously with the reserved crispy fried garlic and finish with 2 tablespoons fresh coriander (cilantro), chopped — for garnish. Serve immediately while the fried garlic on top is still crisp — garlic butter rice is best eaten fresh off the pan.
Video
Notes
- USE DAY-OLD RICE — fresh rice has too much moisture and turns mushy when fried. Rice cooked the day before and rested in the fridge overnight has firmer, drier grains that separate properly in the hot pan. If you only have fresh rice, spread it on a tray and refrigerate uncovered for 1 hour to dry it out slightly before using.
- THE TWO-GARLIC TECHNIQUE — this is what makes the recipe special. Grated garlic cooked into the rice gives background flavor throughout. Crispy fried garlic added ONLY at the end as a topping keeps its crunch — garlic fried directly into the rice loses its crispiness from the rice's moisture. Always keep these two stages separate.
- NEVER FRY GARLIC ON HIGH HEAT — it burns and turns bitter in seconds once it starts to color. Medium heat and constant attention is the only way to get golden, crispy (not burnt) garlic.
- WHY NO EGGS — most garlic fried rice recipes include scrambled egg. This version skips it deliberately; the butter and two-stage garlic are flavorful enough without it. If you want to add egg, scramble it separately and fold it through at the very end so it doesn't overcook.
- BURNT GARLIC VARIATION — for a bolder, more intense flavor, fry the garlic slices slightly longer until deep golden-brown rather than light gold. Watch closely in the final 30 seconds as it darkens quickly.
- THE FILIPINO CONNECTION — this style of garlic fried rice is closely related to sinangag, the garlic fried rice eaten for breakfast across the Philippines, traditionally made the same way: day-old rice, garlic, and a hot pan.
- STORAGE — refrigerate in an airtight glass container for up to 5 days. Not recommended for freezing; the texture of the fried garlic and rice doesn't hold up well after thawing. Reheat in a skillet over medium heat for best texture, or microwave 1–2 minutes.
Nutrition
Serving: 3cups | Calories: 339kcal | Carbohydrates: 42g | Protein: 4g | Fat: 14g | Saturated Fat: 7g | Sodium: 480mg | Fiber: 1g
