Chickpeas (also known as garbanzo beans) are a kitchen staple loved for their versatility, nutrition, and affordability. Whether you're planning to make hummus, curries, salads, or sautéed chickpeas, mastering how to cook dried chickpeas is the foundation.
In this guide, you’ll learn a reliable stovetop method to turn dried chickpeas into soft, tender, and fluffy legumes — without needing a pressure cooker. Plus, I’ll share essential tips, storage ideas, and recipe ideas you can build on.
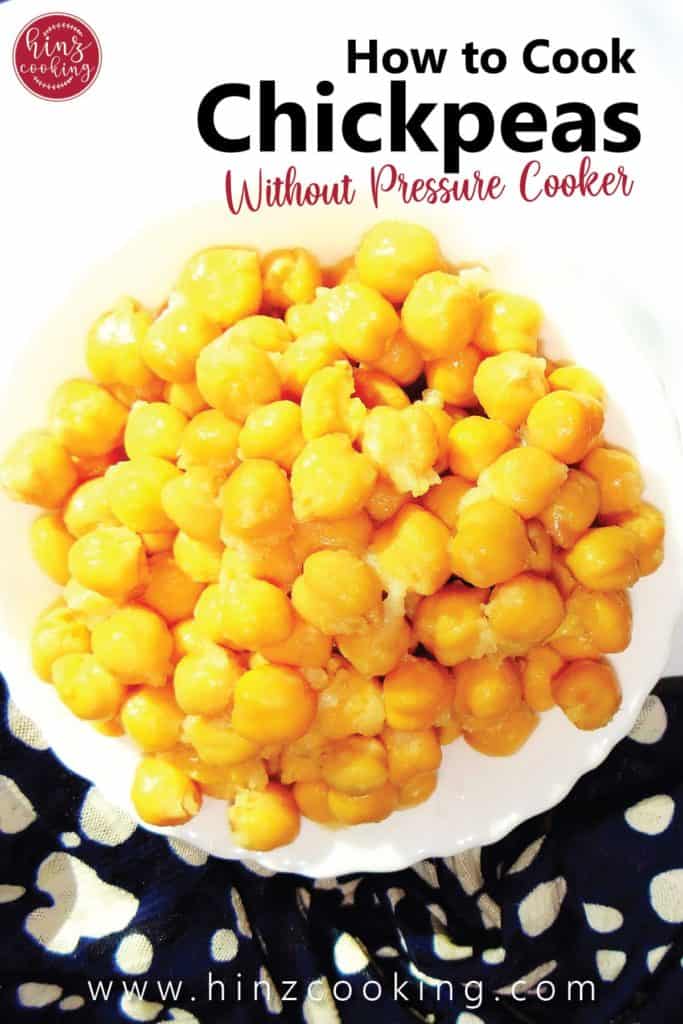
I consistently choose to prepare chickpeas at home on my stove instead of opting for frozen or canned varieties. It’s incredibly straightforward; you just have to follow a few steps, and you’ll have soft, juicy, and delicious chickpeas ready to serve. This versatile grain enables the creation of numerous dishes from various cuisines worldwide. You can whip up chickpea salad, falafel, hummus, chickpea rice, and many other meals simply by keeping cooked chickpeas in your fridge.
Watch Recipe
Jump to:
What Are Chickpeas?
Why Cook from Dried?
- Definition & Names: Chickpeas (Cicer arietinum) are legumes that go by many names — garbanzo beans, chana, Bengal gram in different regions.
- Why cook from dried?
• More control over texture and salt
• No preservatives or additives (as sometimes found in canned)
• Better cost per serving
• You can soak in advance and cook in bulk - Types
• Kabuli (larger, pale) — common in Western markets
• Desi / smaller organic types — common in South Asia / Middle East; more intense flavor and firmer bite.
Types of Chickpeas
Which One to Use?
Chickpeas — also known as garbanzo beans — come in a few main varieties, each with its own flavor, texture, and ideal culinary uses. Understanding the differences helps you choose the right type for your recipe, whether you’re making hummus, curries, salads, or sautéed chickpeas.
1. Kabuli Chickpeas
Most common in: United States, Canada, Australia, and the Mediterranean region
Appearance: Large, round, and creamy beige color
Texture: Smooth and soft when cooked
Flavor: Mild and slightly nutty
Best for:
- Hummus and creamy dips
- Salads and pasta dishes
- Roasted or sautéed chickpeas
- Mediterranean and Western-style recipes
💡 Tip: Kabuli chickpeas are what you’ll usually find canned in supermarkets across North America and Australia. They cook up plump and tender, ideal for smooth-textured recipes.
2. Desi Chickpeas (Kala Chana)
Most common in: India, Pakistan, Middle East, and parts of Africa
Appearance: Small, darker brown, and slightly rougher skin
Texture: Firmer and denser after cooking
Flavor: Deep, earthy, and nutty
Best for:
- Indian curries like Chana Masala or Chole
- Soups, stews, and spiced snacks
- Grinding into gram flour (besan)
- Traditional Middle Eastern dishes
💡 Tip: Desi chickpeas often double in size after soaking. They hold their shape better in long-cooked recipes and have a richer, more complex flavor than Kabuli types.
3. Green Chickpeas (Fresh or Frozen)
Most common in: Seasonal markets or frozen food aisles
Appearance: Bright green and smaller than dried chickpeas
Texture: Tender, similar to green peas
Flavor: Fresh, slightly sweet, and grassy
Best for:
- Salads and stir-fries
- Light curries or sautéed dishes
- Blending into dips and spreads
💡 Tip: These are immature chickpeas harvested early. You can find them fresh during the harvest season or frozen year-round in some specialty stores.
4. Organic Chickpeas
Available in: Both Kabuli and Desi varieties
Why choose organic?
Organic chickpeas are grown without synthetic pesticides or fertilizers, offering a cleaner taste and better nutrition profile. They also tend to cook more evenly and have a naturally richer, nuttier flavor.
💡 Personal Note: I always prefer using small organic chickpeas, especially in sautéed recipes — they’re incredibly flavorful and have the best texture when cooked from scratch.
Which Chickpeas Should You Use?
| Recipe Type | Recommended Chickpea | Notes |
|---|---|---|
| Hummus or dips | Kabuli | Soft, creamy texture blends smoothly |
| Indian curries (Chana Masala, Chole) | Desi | Firm texture, bold flavor |
| Salads & grain bowls | Kabuli | Mild flavor, easy to season |
| Roasted or sautéed chickpeas | Kabuli or small organic | Hold shape, crisp up well |
| Traditional dishes (Middle Eastern, South Asian) | Desi | Authentic taste, earthy flavor |
💡 Quick Buying Tip
- Look for uniform color and size when buying dried chickpeas — avoid wrinkled or broken ones.
- Organic, small-sized chickpeas usually deliver more depth of flavor, especially if you’re making homemade dishes like sautéed chickpeas, hummus, or chana masala.
Ingredients
You only need 4 ingredients to cook chickpeas on stovetop. The rest of the cook depends upon the method and cooking time.
Chickpeas: You can take dried chickpeas from the store. I highly recommend opting for organic chickpeas, as they typically have low sodium or no salt at all.
Salt: Chickpeas have a nutty flavor, so feel free to adjust the amount of salt according to your preference.
Baking Sode (Soda by Carbonate): This is the key ingredient that I strongly advise not to overlook. In fact, it acts as a catalyst to speed up the cooking process, ensuring that the chickpeas become soft and tender.
Water: Water is essential for soaking and boiling chickpeas. Fill the pot halfway for boiling, depending on the quantity you are using. Be sure to check how long to cook chickpeas further down in this post.
How to Cook Chickpeas (2 Ways)
The key to preparing the finest chickpeas that are juicy, fluffy, grainy, soft, and completely tender lies in the cooking technique. Below is a straightforward step-by-step guide designed to assist you in cooking high-quality chickpeas on the stovetop without the need for a pressure cooker.
Step 1: Rinse & Soak
Start by measuring your chickpeas — remember, they’ll double in size once soaked.
- Place the dried chickpeas in a large bowl and pick out any small stones or damaged beans.
- Rinse thoroughly under cool running water to remove dust or residue.
- Add three times the amount of water (for example, 1 cup chickpeas = 3 cups water). Chickpeas expand as they soak, so make sure there’s enough water to cover them completely.
- Soak overnight (8–12 hours) at room temperature. This softens the beans and reduces cooking time.
💡 Quick Soak Method: If you’re short on time, place the chickpeas in a pot, cover with water, and bring to a boil for 2 minutes. Turn off the heat, cover the pot, and let them soak for 1 hour. Drain before cooking.
🔥 Pro Tip: Adding a pinch of baking soda (¼ teaspoon per cup of chickpeas) during soaking can help soften them faster and make them creamier when cooked.
Step 2: Drain & Rinse
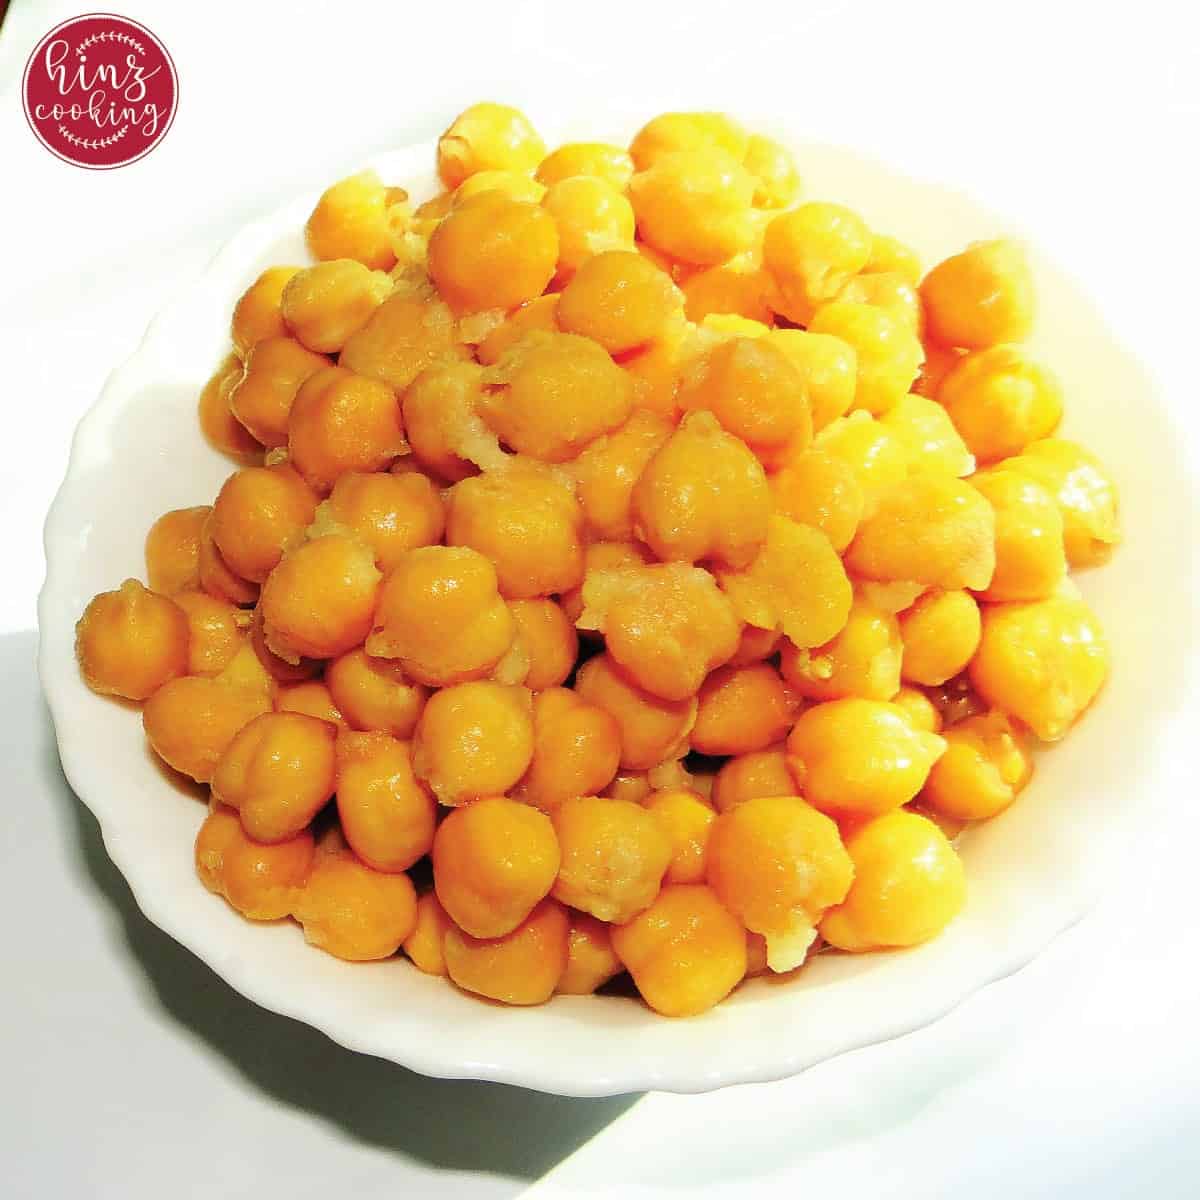
After soaking, the chickpeas will look plump and have absorbed most of the water.
- Drain the soaking water completely — don’t reuse it, as it can contain indigestible starches.
- Rinse the chickpeas well under cold water to remove any foam or residue from soaking.
- Now they’re ready to cook!
💧 Optional: If you want a creamier texture (for hummus, for example), you can remove some of the skins by gently rubbing the chickpeas between your palms while rinsing.
Step 3: Boiling Chickpeas
Now it’s time to cook! You can use a stovetop pot, pressure cooker, or Instant Pot, depending on your preference.
Stovetop Method:
- Add the soaked chickpeas to a large cooking pot.
- Pour in fresh water, covering them by about 2–3 inches.
- (Optional) Add ½ teaspoon baking soda and a pinch of salt for softer, faster-cooking beans.
- Bring the water to a rolling boil over medium-high heat.
- Skim off any foam that forms on top — this keeps the liquid clear.
- Reduce the heat to low or medium-low, cover with a lid, and simmer for 45–60 minutes, stirring occasionally.
- Check the chickpeas for tenderness — they should be soft enough to mash easily between your fingers but still hold their shape.
⏱️ Cooking time can vary depending on the age and size of the chickpeas. Older beans may take up to 1½–2 hours.
💡 Flavor Boost: Add a bay leaf, garlic cloves, or onion slices to the pot for a subtle flavor infusion.
💧 Without Soda biCarbonate: In case, if you don't want to use 'soda' then the cooking time will increase to 2 to 3 hours.
Pressure Cooker / Instant Pot Method:
If you prefer a faster method:
- Combine 1 cup soaked chickpeas + 3 cups water in the pressure cooker.
- Cook on high pressure for 20–25 minutes, then let the pressure release naturally.
- For unsoaked chickpeas, increase the cook time to 35–40 minutes.
How to Know When Chickpeas Are Done
- For salads or sautéed dishes — cook until firm but tender.
- For hummus, soups, or curries — cook a little longer until soft and creamy.
Once cooked, drain the chickpeas and let them cool. Store them in airtight containers or use them right away in your favorite recipes like sautéed chickpeas, curries, or salads.
Tips & Tricks for Best Results
Here are some helpful tips and tricks for novices to prepare soft chickpeas in a home kitchen using the stovetop.
- Don't over-soak — as this can lead to a foul smell in the chickpeas.
- Use a deep bowl for soaking so chickpeas don’t overflow.
- Ensure that the chickpeas have doubled in size after soaking.
- When boiling the chickpeas, add water carefully. Chickpeas will produce a white foam while cooking, which can be discarded, but there's no need to worry as it's safe to cook with.
- While cooking chickpeas, refrain from stirring too frequently, as this can disrupt the softening process of the grains.
- Chickpeas have a nutty flavor, and some dried varieties may already contain sodium, so be sure to check the label before adding any salt.
Common Mistakes to Avoid When Cooking Chickpeas
Even though cooking chickpeas seems simple, a few small missteps can affect their texture, flavor, or cooking time. Here’s a list of common mistakes (and how to fix them) — to help you make perfectly tender, flavorful chickpeas every time.
1. Skipping the Soak
Skipping the soaking step might sound convenient, but it’s one of the biggest reasons chickpeas stay hard or unevenly cooked.
- Soaking helps soften the beans, reduce cooking time, and improve digestibility.
- If you forget to soak, use the quick-soak method (boil 2 minutes, soak 1 hour) before cooking.
💡 Tip: Always soak chickpeas for at least 8 hours or overnight for best results.
2. Not Using Enough Water
Chickpeas expand as they cook and absorb water quickly.
- If there’s not enough water, they’ll cook unevenly or burn at the bottom.
- Always keep 2–3 inches of water above the chickpeas while cooking.
- Refill with hot water if needed during boiling — never add cold water, as it lowers the temperature and slows cooking.
3. Adding Salt Too Early
Adding salt or acidic ingredients (like lemon juice or tomatoes) before chickpeas are tender can toughen their skins and slow cooking.
- Wait until the chickpeas are nearly soft, then season.
- Once cooked, you can season generously without affecting texture.
4. Underestimating Cooking Time
Chickpeas’ cooking time varies depending on their age, size, and type.
- Old or stored chickpeas take longer to soften — sometimes up to 2 hours.
- Desi (small) chickpeas generally cook faster than large Kabuli types.
- Always taste-test a few beans before draining — they should mash easily between your fingers.
5. Ignoring Foam or Skipping the Skim
As chickpeas start boiling, foam often forms on the surface. This is natural but can make the cooking liquid cloudy and slightly bitter.
- Skim off the foam during the first 10 minutes of boiling for cleaner flavor.
6. Reusing Soaking Water
It might seem harmless, but reusing the soaking water can leave behind starches and oligosaccharides (which cause bloating).
- Always drain and rinse soaked chickpeas before cooking with fresh water.
7. Overcooking or Stirring Too Much
Once chickpeas turn soft, avoid overcooking or stirring aggressively.
- Overcooked chickpeas can split or turn mushy, especially if you plan to use them in salads or sautéed recipes.
- Gently stir occasionally while simmering.
8. Improper Storage
Leaving cooked chickpeas uncovered or storing them warm causes them to spoil faster.
- Always cool completely before sealing.
- Store in airtight containers in the fridge (3–4 days) or freeze (2–3 months) for long-term use.
9. Not Adding Flavor During Cooking
Boiled chickpeas don’t have to be bland!
- Enhance flavor by adding bay leaves, garlic, onion slices, or a drizzle of olive oil to the water.
- This subtle infusion gives chickpeas a richer taste even before seasoning.
10. Expecting the Same Results from Every Batch
Every brand and variety of chickpeas cooks differently — even the same type may vary by harvest.
- Adjust cooking time as needed and take notes for your next batch.
- Once you find your ideal method, consistency becomes easier!
💡 Tip: If your chickpeas are still hard after cooking for a long time, add ½ teaspoon of baking soda and continue simmering for another 15–20 minutes. It helps break down the cell walls and soften them perfectly.
How to Store and Freeze Cooked Chickpeas
- Cool completely — Let the cooked chickpeas come to room temperature before storing.
(Hot food sealed in containers can cause condensation and spoil faster.) - Drain the cooking liquid if you plan to use them in different recipes.
- You can, however, store them with some liquid if you want them extra soft (great for curries or soups).
- Transfer to airtight glass containers or food-safe jars.
- Refrigerate for up to 3–4 days.
💡 Pro Tip: Add a splash of the cooking broth before sealing — it helps maintain moisture and flavor.
How to Freeze Chickpeas for Long-Term Storage
Freezing is a great way to save time — perfect for meal prep or quick recipes during busy weeks.
- Cool and drain the cooked chickpeas completely.
- Spread on a baking sheet in a single layer and freeze for 1–2 hours until solid.
(This step prevents them from sticking together later.) - Transfer to freezer-safe bags or containers.
- Label with the date and portion size for easy use.
- Store in the freezer for up to 2–3 months.
🧺 Storage Tip: Divide into 1 or 2-cup portions before freezing — that’s roughly equal to one can of chickpeas and makes meal prep super easy.
How to Thaw and Reheat Chickpeas
When you’re ready to use your frozen chickpeas:
- Thaw overnight in the refrigerator, or
- Quick-thaw in the microwave for 2–3 minutes, or
- Add directly to soups, stews, or curries — no need to thaw!
To reheat sautéed or plain chickpeas, simply warm them in a pan with a drizzle of olive oil or microwave for a couple of minutes.
💡 Pro Tip: Don’t refreeze thawed chickpeas — instead, cook them into your next meal.
Once your chickpeas are perfectly tender and ready, it’s time to store them the right way so you can enjoy them in recipes throughout the week — or even months later.
Whether you want to refrigerate for short-term use or freeze for meal prep, here’s how to keep your cooked chickpeas fresh and flavorful.
How Long Do Chickpeas Last?
| Storage Method | Duration | Notes |
|---|---|---|
| Room temperature | Up to 12 hours (cool weather only) | Best for same-day use |
| Refrigerator | 3–4 days | Airtight container recommended |
| Freezer | 2–3 months | Store in small batches |
Chickpea Recipe Ideas
So now you have cooked chickpeas and you can try different recipes. Here are some ideas that I tried:
- Chickpea Salad: Extremely healthy salad recipe that will also help in weight loss.
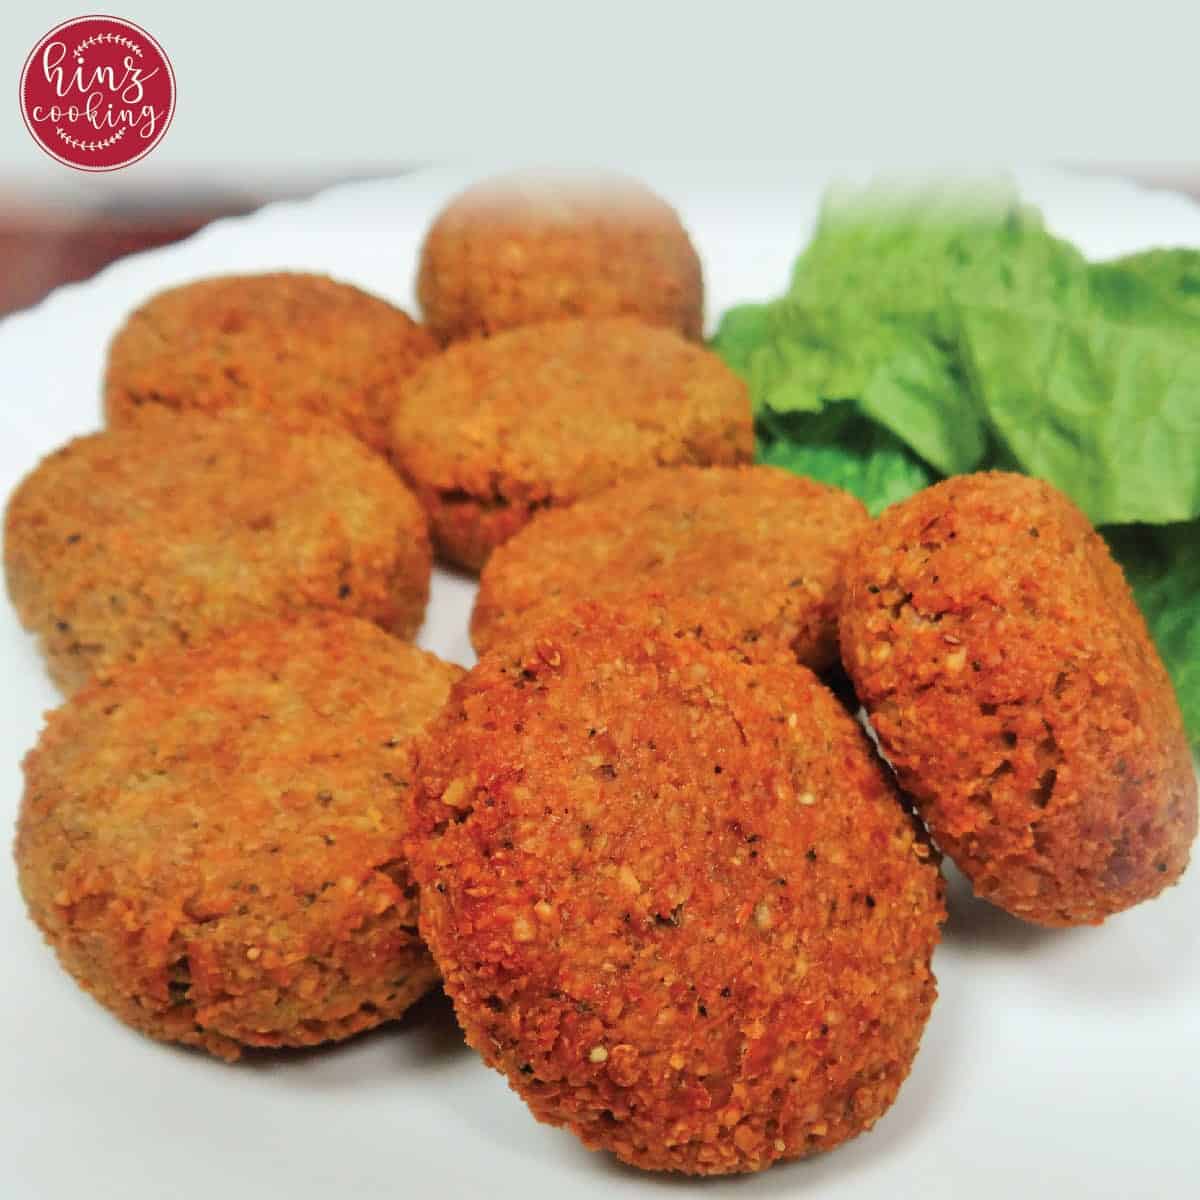
- Falafel: Quick and easy Arabian snack recipe that you can easily make at home.
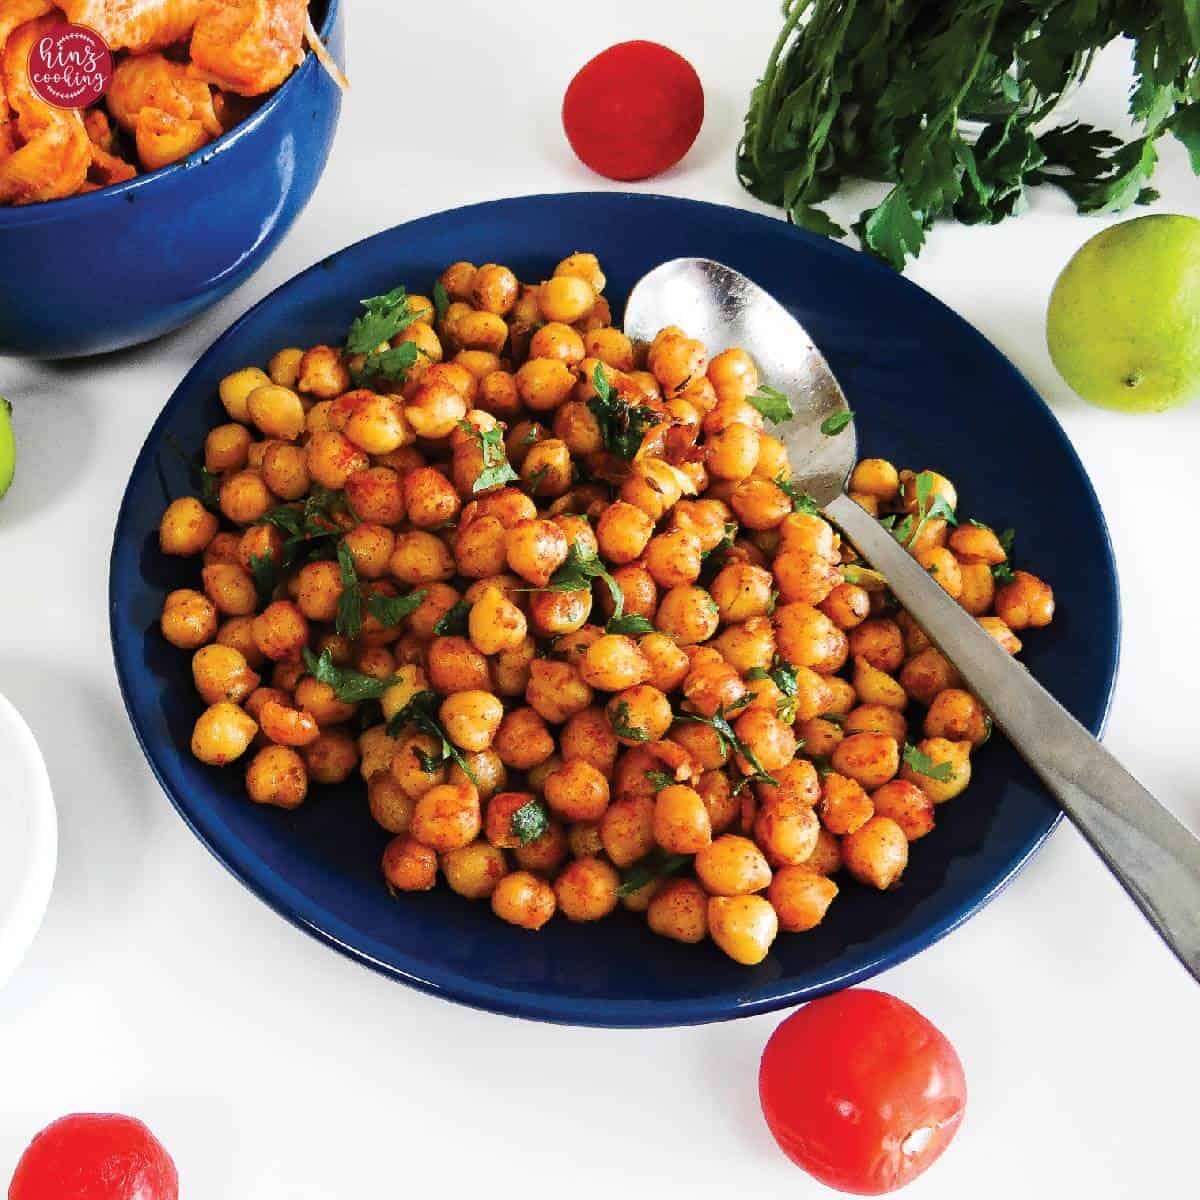
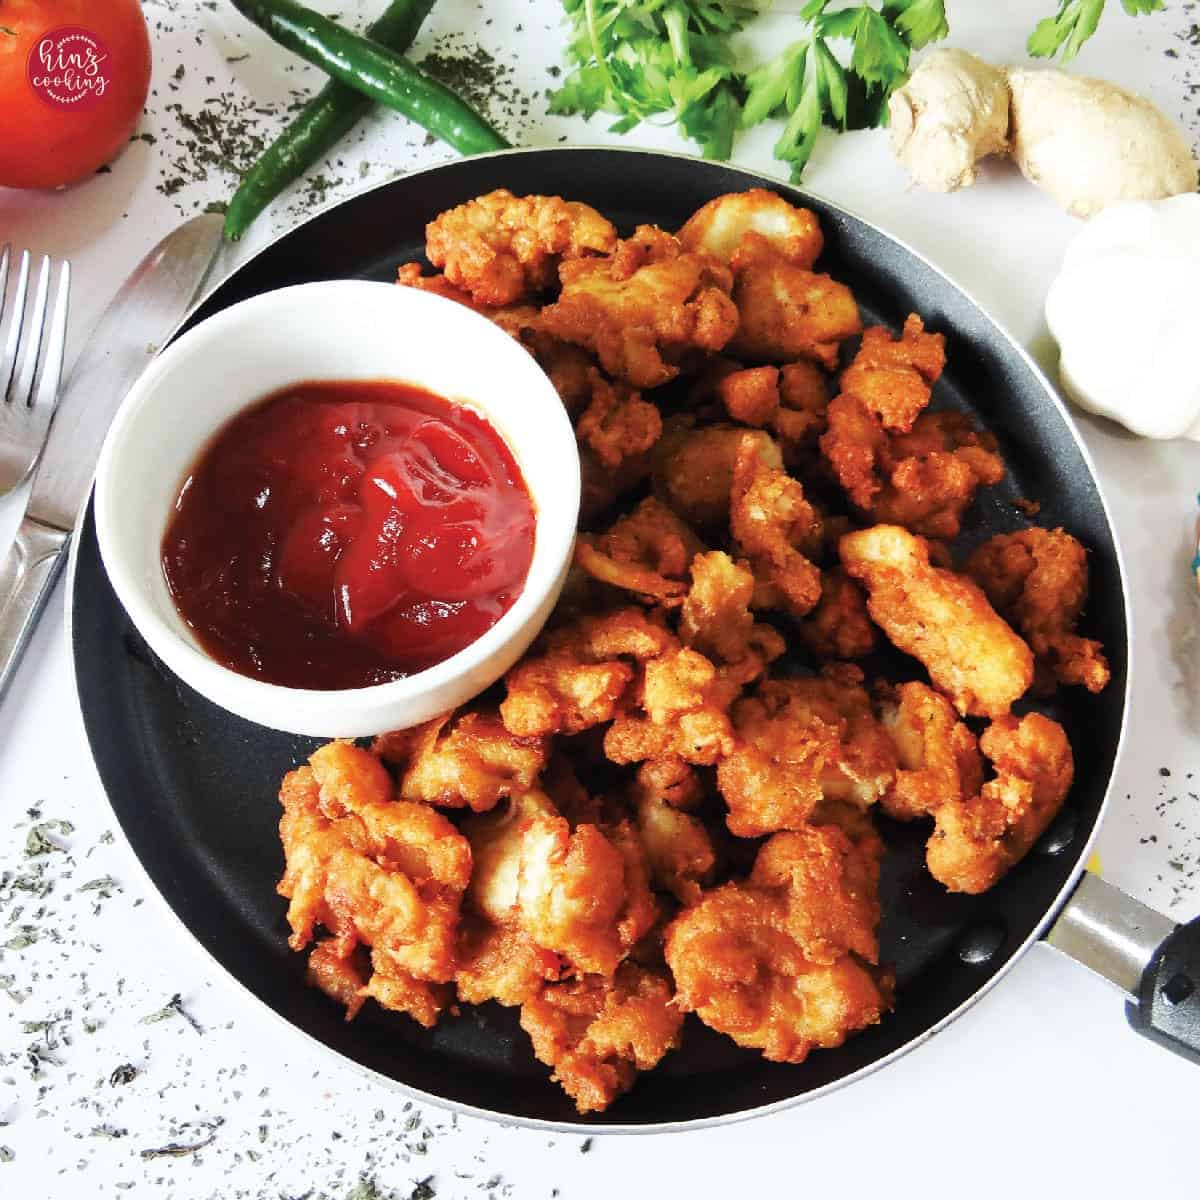
- Sautéed Chickpeas: Best for a healthy munching idea for foodies.
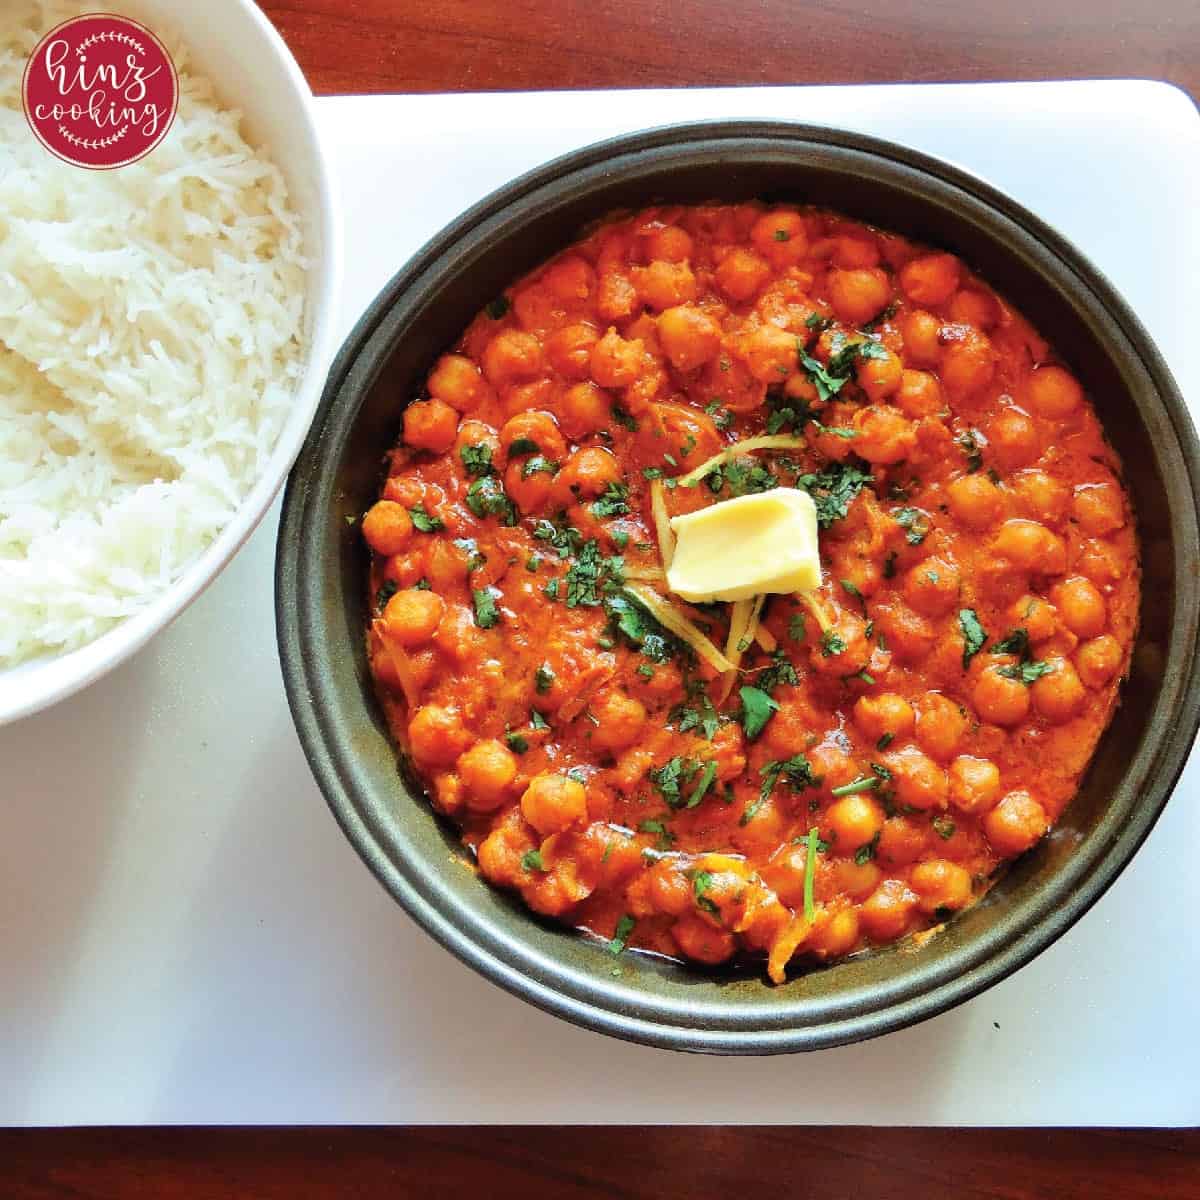
- Chickpea Curry: Extremely delicious and tasty curry recipe to prepare with cooked chickpeas.
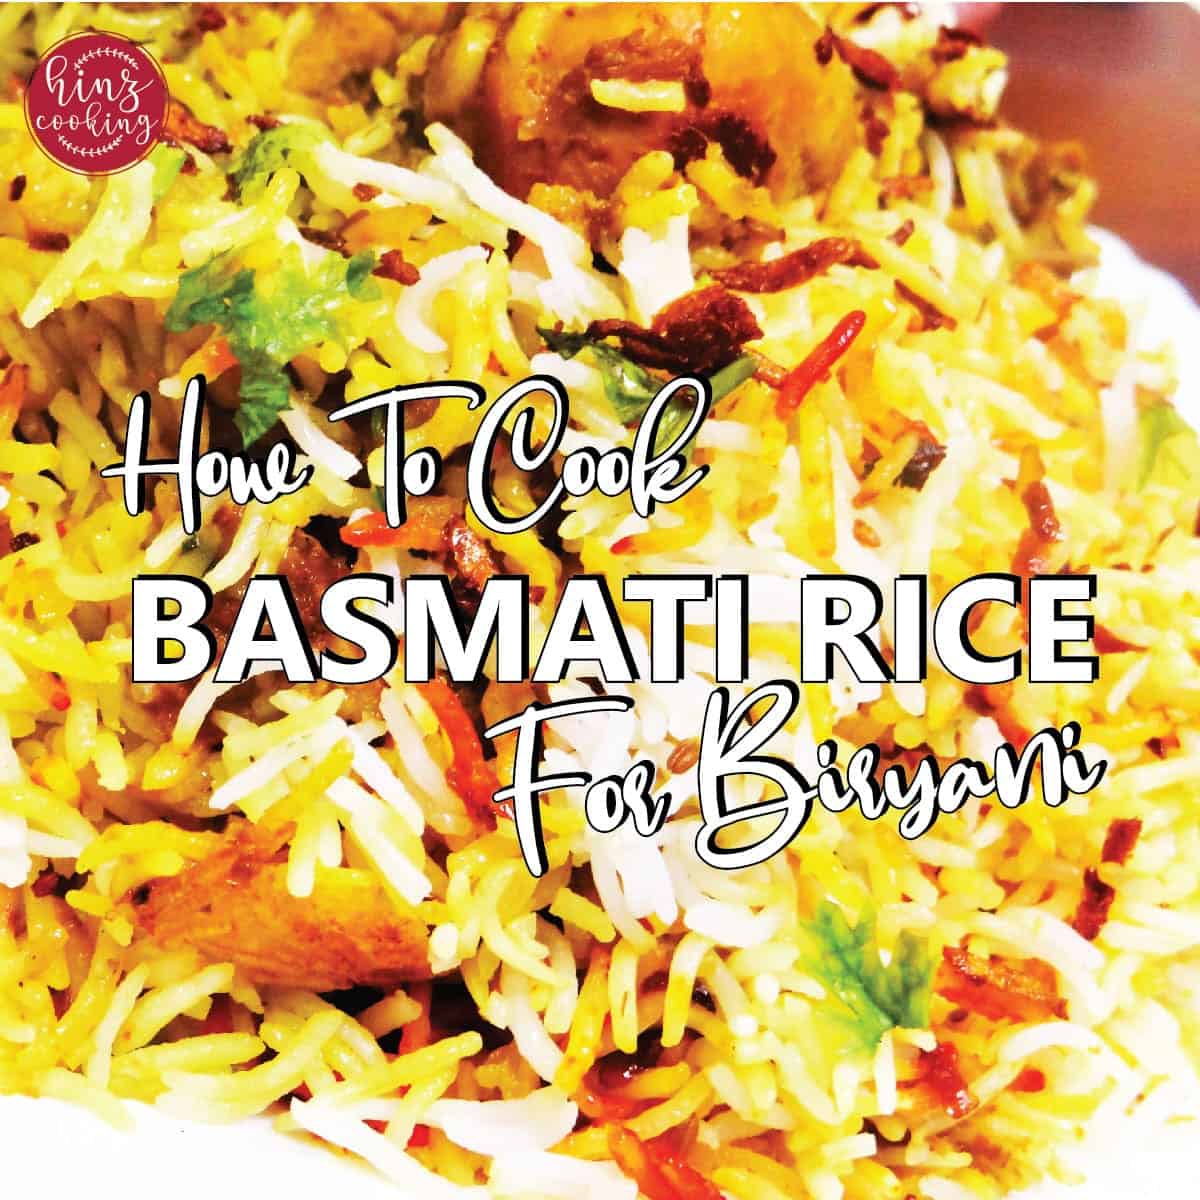
- Chickpea Rice (Biryani): One of the best Indian recipes to cook chickpeas with rice. Also try chickpea pulao.
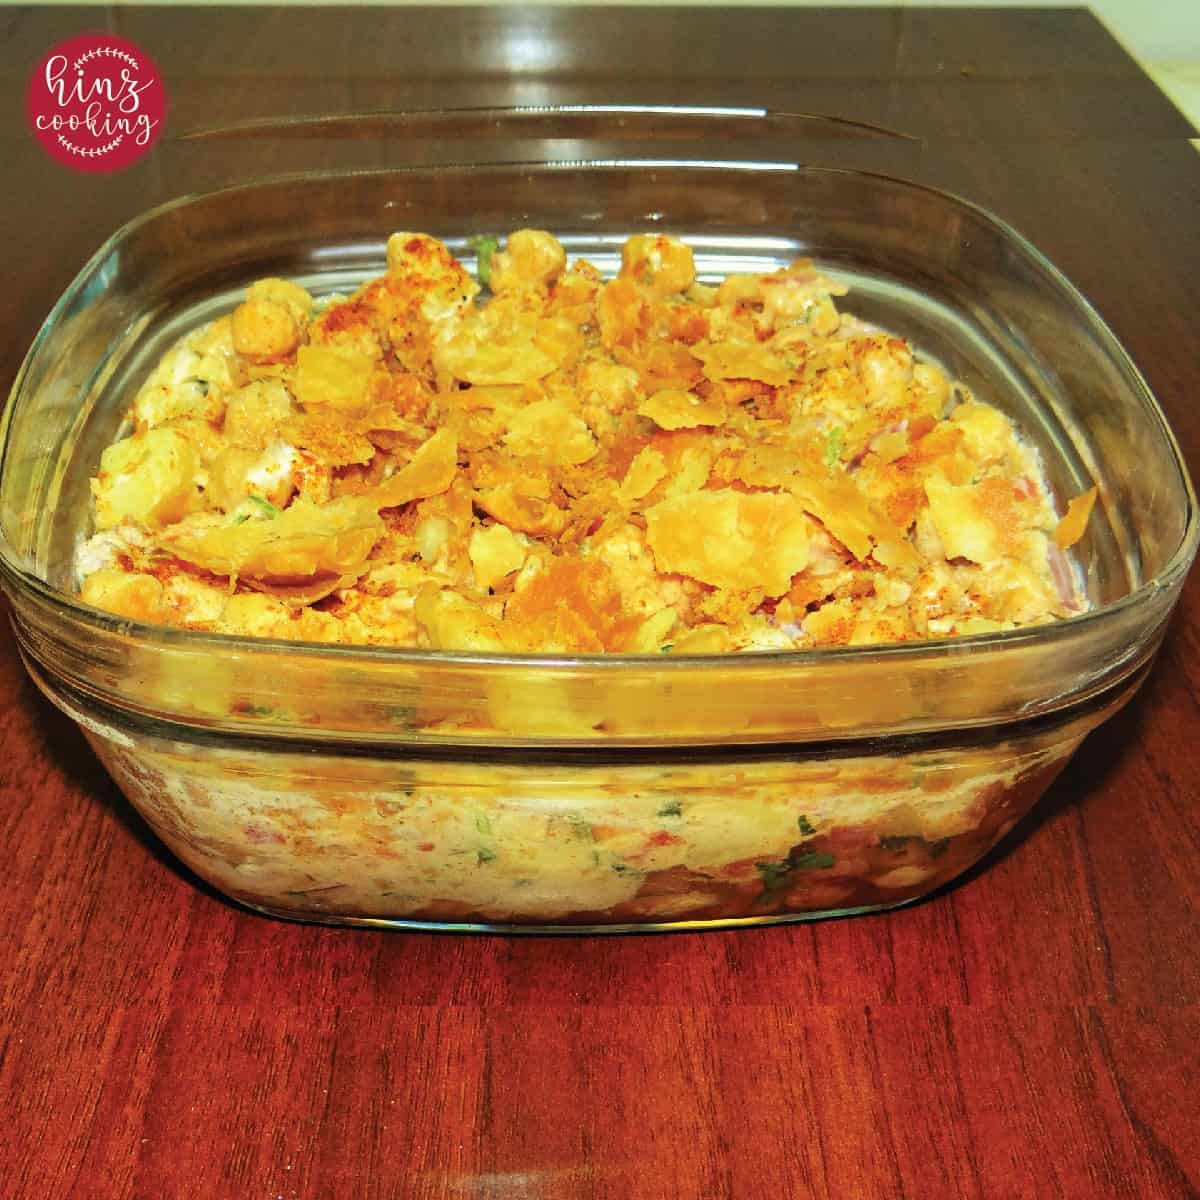
- Chaat: Popular recipe of South Asian street food to prepare with cooked chickpeas.
Q & A
Chickpeas are hard in texture. Soaking transform the hard grain into soft form. A good soaking can break the chickpeas with hands. Like, when you press the chickpeas with hard finger it will break into pieces. Soaked chickpeas are extremely moist and soft and good for stomach.
If the chickpeas are soaked overnight then it will take 01 hour without pressure cooking. Check the boiled chickpeas with hand if it's easily break then it's done. I simply check by eating a piece of chickpea. If it shows hard texture then give more time to cook.
Baking soda helps to accelerate the chickpeas tendering process. Use in moderate quantity while boiling chickpeas and it will help to make it soft and moist in texture.
Boil it again! Make sure to properly sealed the lid to make the steam. It will help to cook the chickpeas fast.
Best to soak overnight to get good result.
If you don't have enough time then soak it in big pan with warm water and add ⅓ teaspoon soda bi carbonate. Give it good mix. Add sufficient water so the chickpeas properly dunked into it. Check the water level as the chickpeas will absorb the water and increase the size. Soak for 3 to 4 hours.
1) Cook chickpeas on instant pot
2) Use pressure cooker to cook chickpeas
You Might Like This
How to Cook Dried Chickpeas (Ultimate Cooking Guide + Tips)
Ingredients
- 1 kg Chickpeas 1000 gms
- ½ teaspoon Salt
- ½ teaspoon Soda bicarbonate
- Water for soaking and boiling
Instructions
Rinse & Soak
- Place the dried chickpeas in a large bowl and pick out any small stones or damaged beans.
- Rinse thoroughly under cool running water to remove dust or residue.
- Add three times the amount of water (for example, 1 cup chickpeas = 3 cups water). Chickpeas expand as they soak, so make sure there’s enough water to cover them completely.
- Soak overnight (8–12 hours) at room temperature. This softens the beans and reduces cooking time.
Drain & Rinse
- After soaking, the chickpeas will look plump and have absorbed most of the water.
- Drain the soaking water completely — don’t reuse it, as it can contain indigestible starches.
- Rinse the chickpeas well under cold water to remove any foam or residue from soaking.Now they’re ready to cook!
Boiling Chickpeas (2 Ways)
1. Stovetop Method:
- Add the soaked chickpeas to a large cooking pot.Pour in fresh water, covering them by about 2–3 inches.(Optional) Add ½ teaspoon baking soda and a pinch of salt for softer, faster-cooking beans.
- Bring the water to a rolling boil over medium-high heat.Skim off any foam that forms on top — this keeps the liquid clear.Reduce the heat to low or medium-low, cover with a lid, and simmer for 45–60 minutes, stirring occasionally.
- Check the chickpeas for tenderness — they should be soft enough to mash easily between your fingers but still hold their shape.
- Cooking time can vary depending on the age and size of the chickpeas. Older beans may take up to 1½–2 hours.
Pressure Cooker / Instant Pot Method:
- Combine 1 cup soaked chickpeas + 3 cups water in the pressure cooker.
- Cook on high pressure for 20–25 minutes, then let the pressure release naturally.
- For unsoaked chickpeas, increase the cook time to 35–40 minutes.
How to Know When Chickpeas Are Done
- For salads or sautéed dishes — cook until firm but tender.For hummus, soups, or curries — cook a little longer until soft and creamy.Once cooked, drain the chickpeas and let them cool. Store them in airtight containers or use them right away in your favorite recipes like sautéed chickpeas, curries, or salads.
Video
Notes
- Don't over-soak — as this can lead to a foul smell in the chickpeas.
- Use a deep bowl for soaking so chickpeas don’t overflow.
- Ensure that the chickpeas have doubled in size after soaking.
- When boiling the chickpeas, add water carefully. Chickpeas will produce a white foam while cooking, which can be discarded, but there's no need to worry as it's safe to cook with.
- While cooking chickpeas, refrain from stirring too frequently, as this can disrupt the softening process of the grains.
- Chickpeas have a nutty flavor, and some dried varieties may already contain sodium, so be sure to check the label before adding any salt.
- Cool completely — Let the cooked chickpeas come to room temperature before storing.
(Hot food sealed in containers can cause condensation and spoil faster.) - Drain the cooking liquid if you plan to use them in different recipes.
- You can, however, store them with some liquid if you want them extra soft (great for curries or soups).
- Transfer to airtight glass containers or food-safe jars.
- Refrigerate for up to 3–4 days.


Hinz
Here is simple and easy way to cook dried chickpeas. Easy to watch video for quick directions.