Excited to share affordable and best food photography tips for beginner and food bloggers to kick off their passion for cooking recipes. All these tips and tricks are based on my practical experience and best practices that I learned with time. So let's start the journey and roll up the sleeves to take picture like a pro.

Taking amazing food pictures is an art but it's not difficult to do. Today, I am sharing some creative, unique and best food photography tips that will help to take professional photos for your food blog, social media or restaurant business.
A great food photographer can easily convert a trivial picture into an exclusive frame. If you are a beginner and recently started a food-related business then food photography must be a prime challenge for you especially when you are under budget and can't hire a professional photographer.
Many people kill their passion of food photography as they think it will required thousand of dollars to get started.. Yes, it's right! but you can also start under budget just by following the few hacks.
Food blogging is the lucrative business opportunity that anyone can avail to start from their home kitchen. What you cook on daily basis, share it with the world with a unique idea.
Best Idea to Learn with Best Practices...
In this post, I am trying to share my best practices and experiences and food photography tips that will help you to take a picture like a pro. I learned with the experience and by exploring and researching some photography tips by famous photographers who have the great portfolio of food photography.
SEE ALSO: 8 Steps to Start Photography Business Online
What is Food Photography?
If you are a true social media enthusiast then you must know how the people on Facebook, Instagram, Snapshot and especially on Pinterest sharing mouthwatering and amazing food pictures that encourage their visitors to follow them. Most of the food pictures are looking properly done by using connecting lights, angle, and background. Some big companies are making big revenue just be sharing some conceptual pictures based on their business and product demand. Tasty, Buzzfeed and Tastemade are the great examples to consider.
Jump to:
- What is Food Photography?
- Food Photography Tips For Beginners
- 1) Visualize the Photo Concept
- 2) Never Ignore Food Styling
- 3) Create an Engaging Background
- 4) Define the Frame
- 5) Use the Tripod
- 6) Play With Natural Light
- 7) Understand The Camera Lens
- 8) Find DSLR Alternative
- 9) Learn The Camera Settings
- 10) Find the Best Angle
- 11) Focus on Picture Shadows
- 12) Take Sharp Images
- 13) Understand The Value of Negative Space
- 14) Manage the Shutter Speed
- 15) Use the Photo Editor
- 16) Photo Scaling
- My Final Words
So let's delve into it.
Food Photography Tips For Beginners
Here are some tips and secrets that might be useful for beginners going to kick off their food business.
1) Visualize the Photo Concept
Vision is the vital part of taking pictures. To extend this idea you need to think like a creative professional before taking pictures. Like; how it should be creatively displayed on screen. Always research the competition and make mind to take the best shot.
I properly search the similar images before taking my shot. This strategy gives an idea to make the best shot.

2) Never Ignore Food Styling
My mother says, first we eat with eyes! yes, it's true. If the food is beautifully presented, your mind and heart will tell you to eat. In culinary art, food styling is always on priority like how the food is being served.
Styling is not dependent on rich arrangements but the way you present the food will give it more value.
I always focus to get affordable props related to recipe requirement. Casserole dishes, soup bowls, platters, and trays define meanings to make a perfect picture. It's an art that everyone learn with time.
My best practices tell to use small props related to recipe requirements. 1 cup of roasted potatoes will not look good in big platter until or unless pair up with addons.
In the same way, fries can be serve on paper with the addition of sauces. You don't need expensive props to style the fries.
A piece of paper, jute lining, kitchen clothes, are the best supporter to make the food arrangements in a stylish way.
Food styling is an art where you work with your favorite food photography props, simple pieces or dishes to create an appealing and delicious photograph of recipes and dishes.
3) Create an Engaging Background
Focus on platter background and surface. It will create a big influence on the final result. Make a theme of background relate to your source product and take a shot. This idea will extend the concept of food styling.
Like if you are going to take a curry shot, then make the realistic background with supported stuff. Add some flat bread, dinner rolls, naan or rice. It will make an emotional impact on your targeted audience to make the recipe.
4) Define the Frame
Now take your camera and you are ready to define the frame! Set proper area or frame of food that you want to cover in the photo.
Yes, it's very important to consider the frame like what area need to cover and avoid. Technical Framing is the main technique of photography that new photographer learn with time.
If you know about the calculated frame of your shot then you can create an amazing picture so the best idea is to learn about framing in detail. To learn this concept, I watched so many videos to focus on frame position.

If you are food blogger then it's recommended to learn about food photography tips to stand out in your field.
5) Use the Tripod
Believe me, tripod is vital to click stable, sharp and focused images and videos. I can't think about shooting with precision without a stable base.
6) Play With Natural Light
Adjust the lighting before taking pictures. A normal picture can be great if you properly set the light arrangement. When we talk about lighting it doesn't mean to place artificial lights to create an ambiance. You can also take big advantage with the natural light of the sun.
Make sure to balance the light coming from windows. If the light is harsh, you can play with cloths, curtains or some obstacles to make it soft. Morning and evening is the best time to shoot videos.
7) Understand The Camera Lens
Camera lens is basically an 'eye' that help you to take good pictures. It will be characterize by aperture, focal length and depth of field. It will help you to take sharp, focused and well precision images.
If you are taking picture from mobile phone then learn about their lens and search the best way to use that lens. Here I am not focusing to get expensive camera lenses as there are tons of variety available that can make you confuse. First learn to take picture from the camera that you have.
Your iPhone could be a great partner to take amazing pictures but learn to use it in a great way.
8) Find DSLR Alternative
Use your DSLR to take amazing food pictures, if you have! Don't worry if you don't have. You can also use a normal camera or your phone camera to take pictures but if you are working professionally then the best idea is to invest in DSLR technology which will add more professionalism and help to get great photos to attract potential traffic/customer/viewers.
Here are the possible alternatives of DSLR.
9) Learn The Camera Settings
Play with your camera settings to take dummy shots. Investing 1 or 2 hour to understand the different function of your camera and try to take some shots to understand the difference. Believe me, this practice will give you more power to take shots like a professional.
Focus on these areas to work like a pro:
- Aperture: It a opening in a lens through which light will enter into the camera. Learn about using higher or lower aperture.
- Focus Mode: deals with AF (auto focus) or MF (manual focus).
- Color Space: focuses on sRGB
- Shutter Speed: define the length of time to open the camera shutter to take pictures. Small fraction of seconds matter here.
- ISO: define the camera sensitivity to light.
- Focus Area: describe still or moving shots.
- White Balance:
- Noise Reduction: way to reduce image noise in post-processing.

10) Find the Best Angle
Always take shots from different angles by changing the position of your camera. I personally take more than 50 shots from different angle to choose the best.
Tilting, height variations, changing sides, angular movements can help you to get the best click. Always keep the picture in your mind for relevant placement. Like; I take long images for Pinterest, arrange the square and long shots for my blog and rectangular placement for Youtube thumbnail.
11) Focus on Picture Shadows
Playing with the picture shadows will make you professional photographer. You can do this by balancing light, and adding contrast to your objects.
Well balanced shadows help to add more depth in a picture quality. If you don't have professional diffuser then think about DIY light diffuser that you can easily make at home within budget.
Always try to make a balance between harsh and soft shadows based on your picture requirements. Practice it!
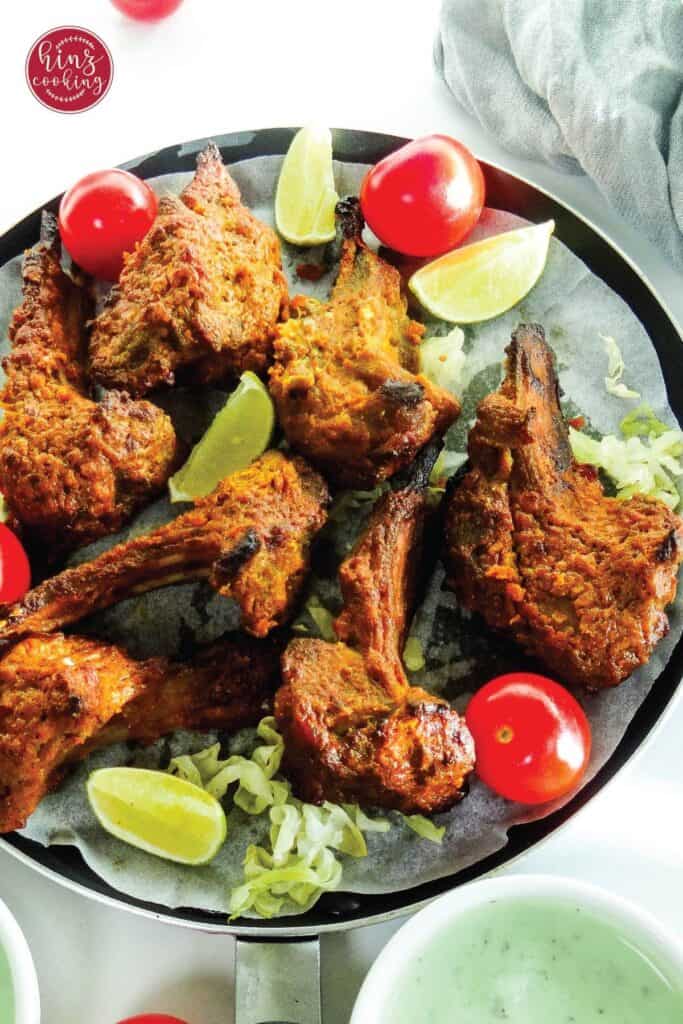
12) Take Sharp Images
I prefer to take sharp images as I feel soft images of food makes it little dull in quality. Anyways, opinions may vary with different angle.
My point is to add more contrast between pixels as it increases the clarity of a picture specially if you are competing with million and interested to rank your picture for search.
Here are few hacks to take sharp images:
- Make proper adjustment of camera focus to take sharp images.
- Avoid noisy or pixelated shots.
- Make sure your camera lens is absolutely cleaned. It will help to take non-blurred and sharp images.
- It's best to fix the camera on a tripod to avoid frame shaking.
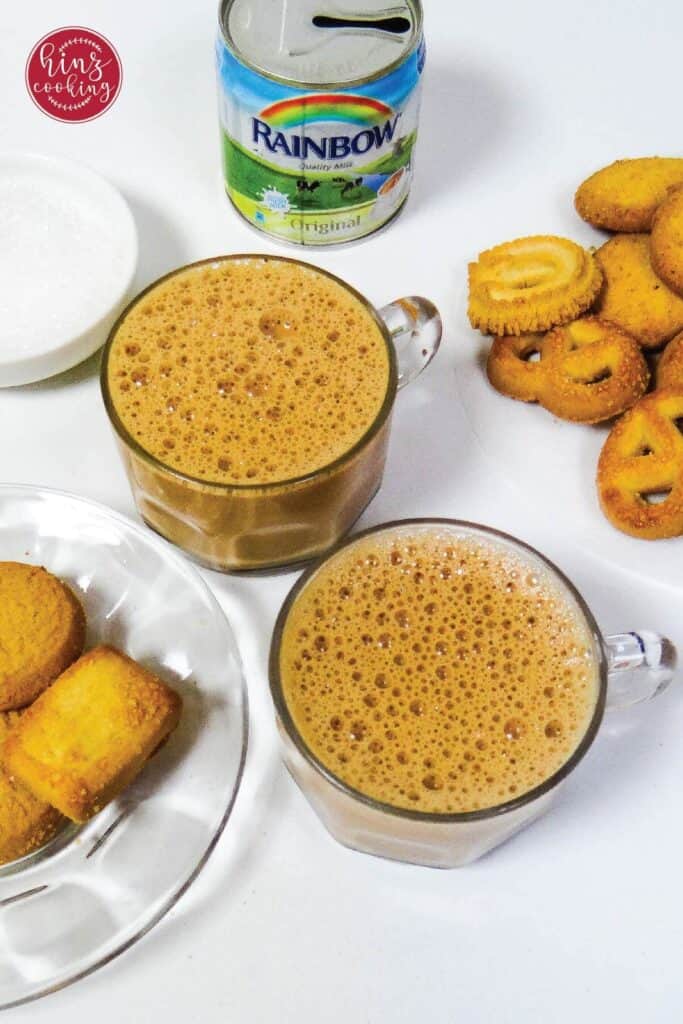
13) Understand The Value of Negative Space
I love to play with void! many of my food blog pictures showing unoccupied space around the main object.
I feel, negative space give more room to highlight the main object in a picture. It's good to match the colors, textures, and background to the main frame of the picture.
14) Manage the Shutter Speed
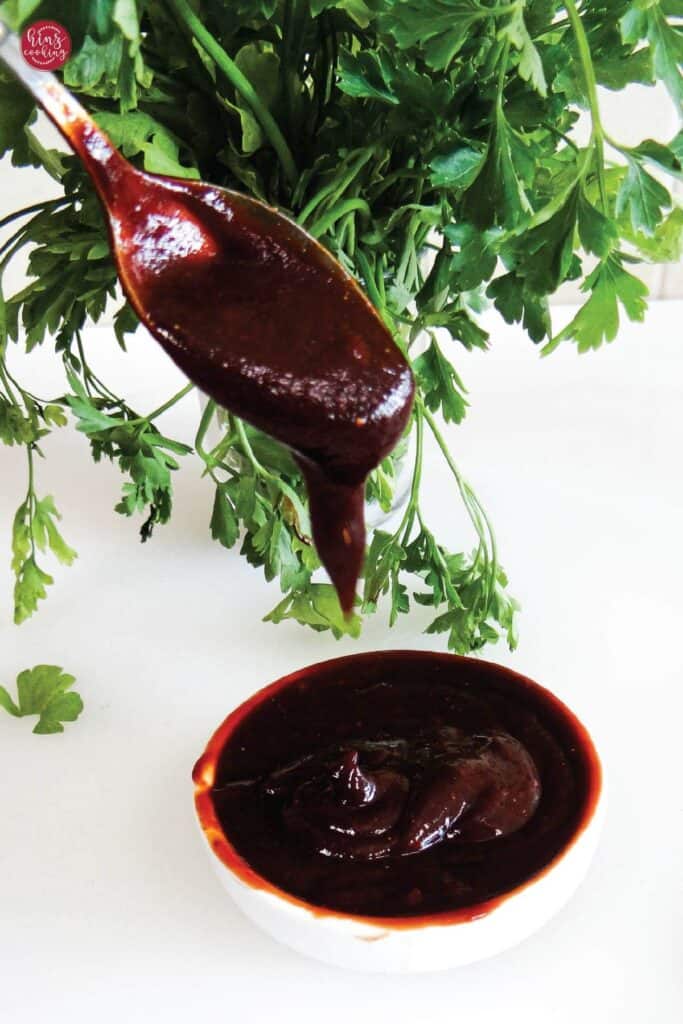
How fast your camera shutter closes to take the picture defines the shutter speed. Now the debate is to make it fast or slow. Like if you are taking pictures of sauce dripping then the shutter needs to be close faster to take the image without being pixelated.
15) Use the Photo Editor
Take the camera picture to your preferred Photo Editing Software. I prefer to use Adobe Lightroom as it helps to balance color, texture, and add more clarity and sharpness to images.
16) Photo Scaling
If the have taken good shots but not properly scaled then overall photography effort will go wrong as it will not create impact to your audience.
Scaling is the science to view the picture in proper size. If you are working as food blogger or as social media influencer then these settings can't be ignored as every platform has different requirement for scaling.
Some points to remember:
- Don't stretch the image.
- Proportionally scale down the picture if you are resizing to place on a blog or other medium.
- Manage the picture to crop the image.
- For print, keep the resolution to 300 PPI.
- For print images, keep the color mode to CMYK.
- If you want the image to get ready for the screen or web then change the resolution to 72 PPI.
- For screen images, keep the color mode in RGB.
I learn this technique after a long time as I used to take pictures in close mode which was wrong as it always gave me hard time to scale the picture. Like; if scaling the picture vertical, square or in landscape mode, you need a room to scale within proper frame.
My Final Words
I wanted to share food photography tips that will surely work for you as a beginner. Make a checklist and apply!
If you are a new food blogger and having a hard time to capture some amazing pictures then these tips might help to manage the lens professionally. I also learned with time and still learning as it's a great science and always need improvement even after taking the good shots.
Here are some points pinching in my head to share:
- Adjust the Aperture: If you decrease the aperture it will increase the depth of field means the focus area will include the near and far objects.
- Check out the proper image resolution to captured shot.
- 23) First shot the picture without flash if you are using the different medium of lights.
- If the capturing place or background is naturally dark then take the picture with flash.
- Manage the shot based on your source. Like; taking a picture for Pinterest then it needs to properly capture in a vertical angle.
- Check the size of the frame after capturing the picture to place on your desired medium.
Photography can be learned from the universe as God has created the beautiful world and we have to map connection between the objects in an innovative and creative way.
Related Articles:
Let's Cook Tonight!



Leave a Reply