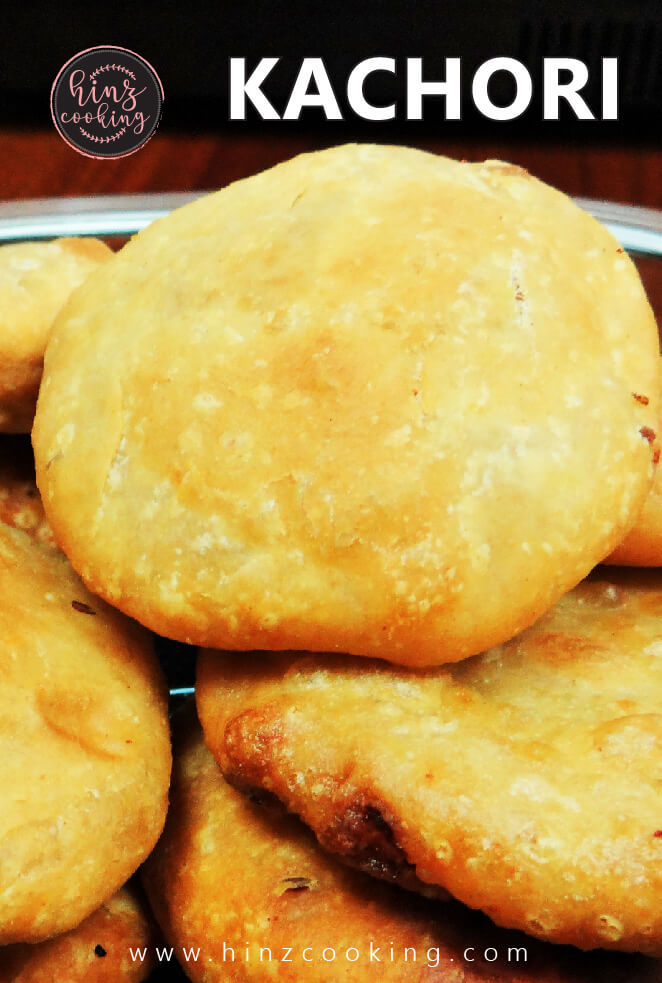
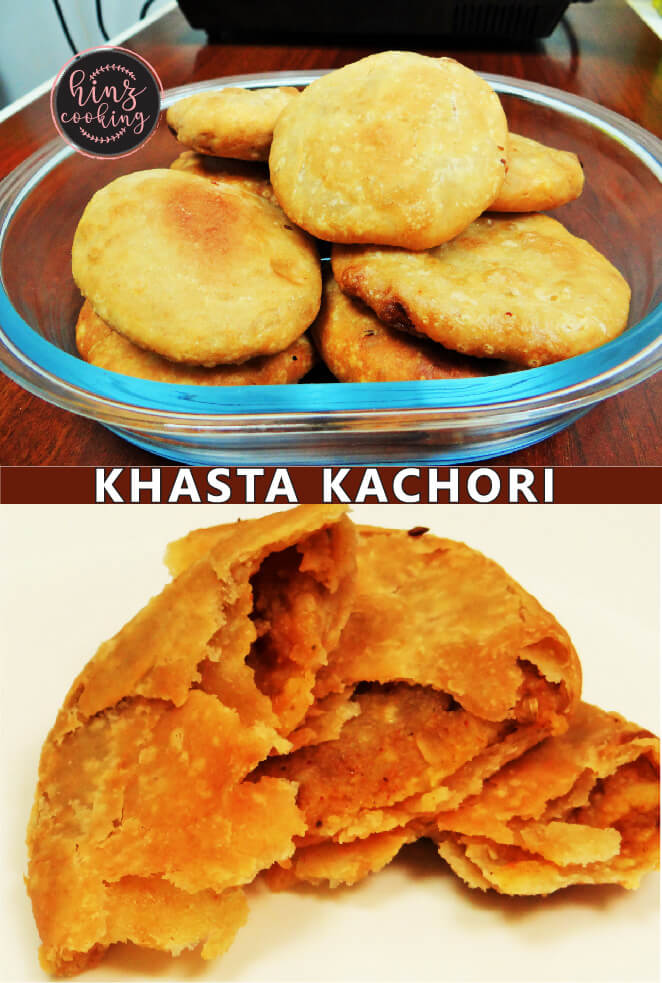
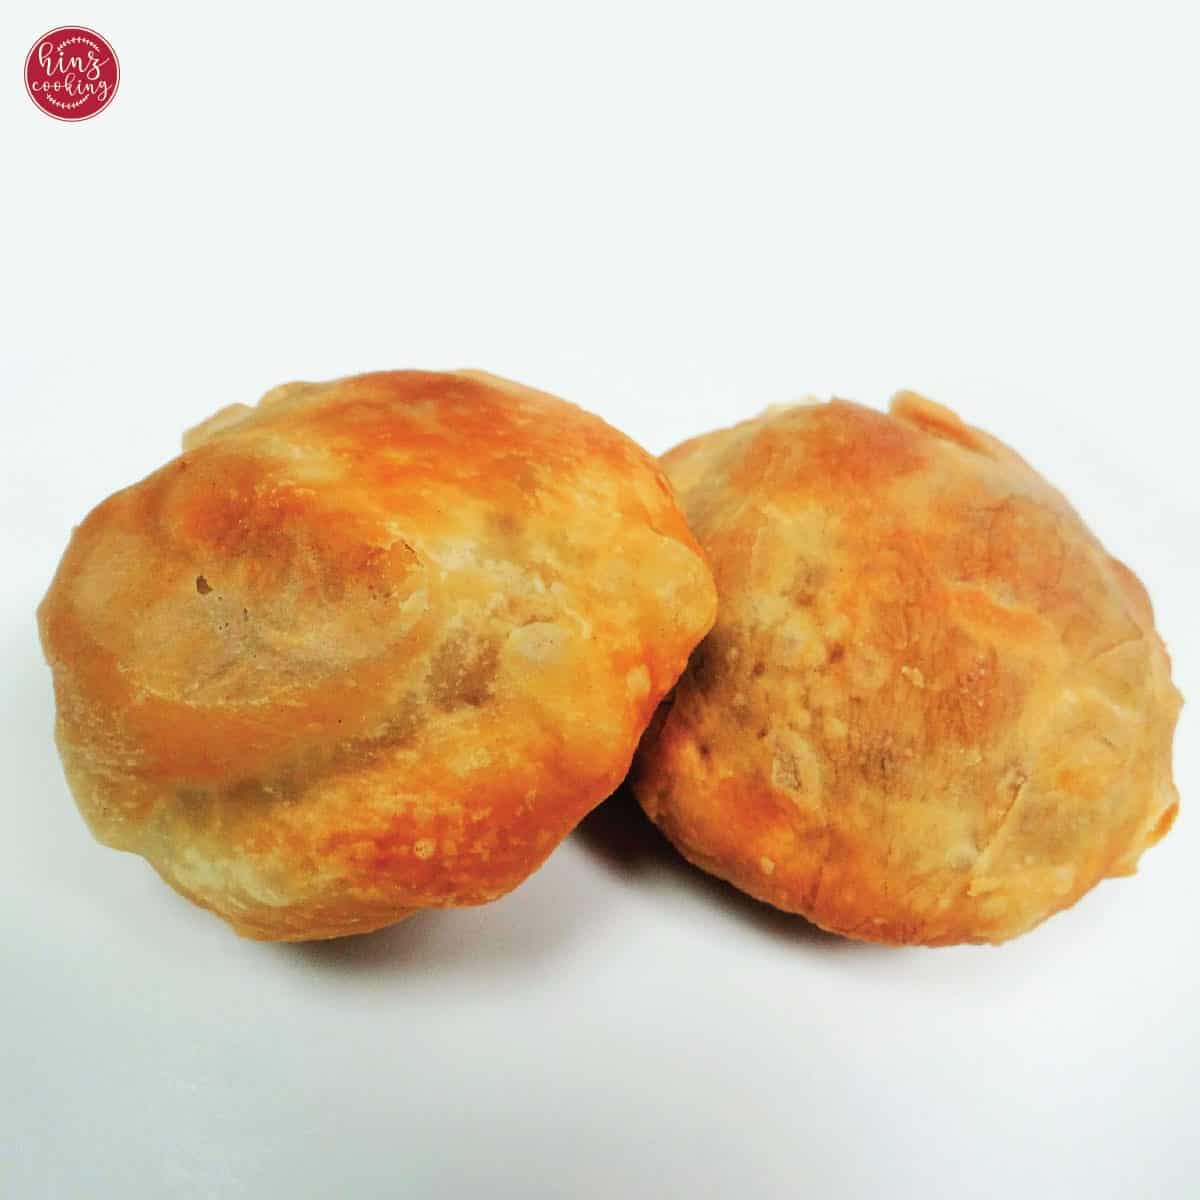
If you have ever wondered how to make kachori recipe at home that is just as good as the ones from your favourite street stall — this is the one. This aloo kachori is everything a great snack should be: a thin, shatteringly crispy shell (khasta in Urdu means exactly that — flaky and crunchy) filled with a warmly spiced potato kachori filling that melts in your mouth.
Watch Video - How Did I Make
I learned this recipe from my mother, who made it every Ramadan and at every special gathering. After testing it dozens of times in my own kitchen, I can say with confidence this is the most authentic khasta kachori you can make at home without any special equipment.
If you love this aloo kachori, try these next: Moong Dal Kachori — lentil-filled kachori, flaky and deeply savoury
Jump to:
- Watch Video - How Did I Make
- What is Aloo Kachori?
- Khasta Kachori Dough — The Secret to Crispiness
- 🧾 Ingredients & Substitutions
- 👩🍳 How to Make Aloo Kachori (Step-by-Step)
- 💡 Tips for the Crispiest Khasta Kachori
- 🍽️ What to Serve With Aloo Kachori?
- 🧊 How to Store Kachori?
- 🙋🏻♂️ FAQ'S
- 🍳More Snack Ideas
- Aloo Kachori Recipe (Khasta Potato Kachori)
What is Aloo Kachori?
Kachori is a famous deep-fried snack from South Asia, beloved across India and Pakistan. You may also see it spelled kachauri, katchuri, or kachodi depending on the region. The defining feature is a pastry shell made with all-purpose flour (maida) that is fried until it puffs up and turns golden — crispy on the outside, hollow and light on the inside.
Aloo kachori (aloo = potato) uses a spiced mashed potato filling. It is arguably the most popular variety, right alongside moong dal kachori, which I have also shared on the blog.
In Pakistan, there are interesting regional differences:
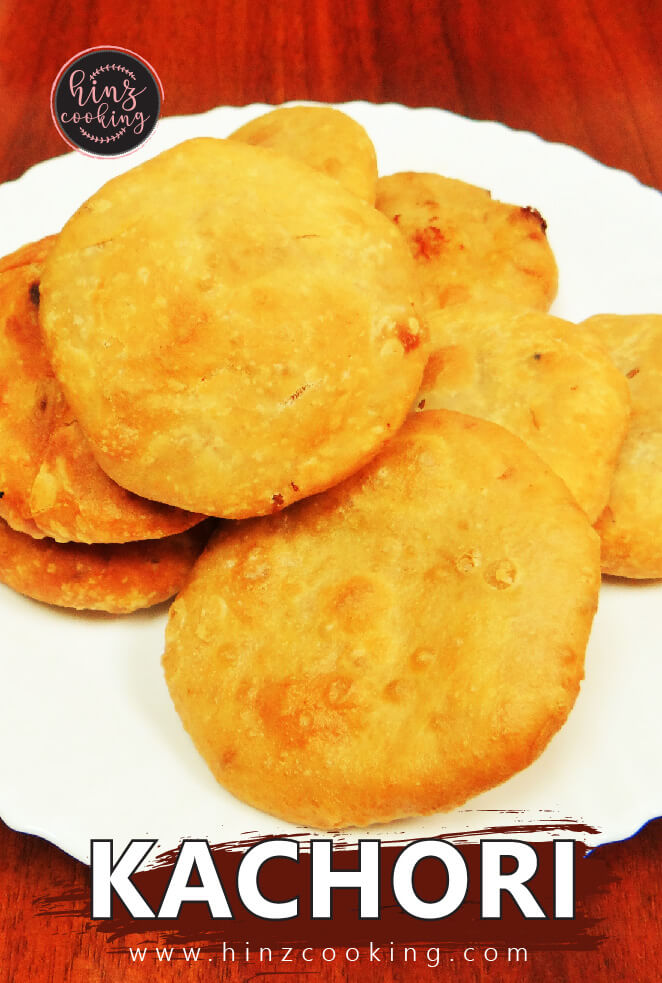
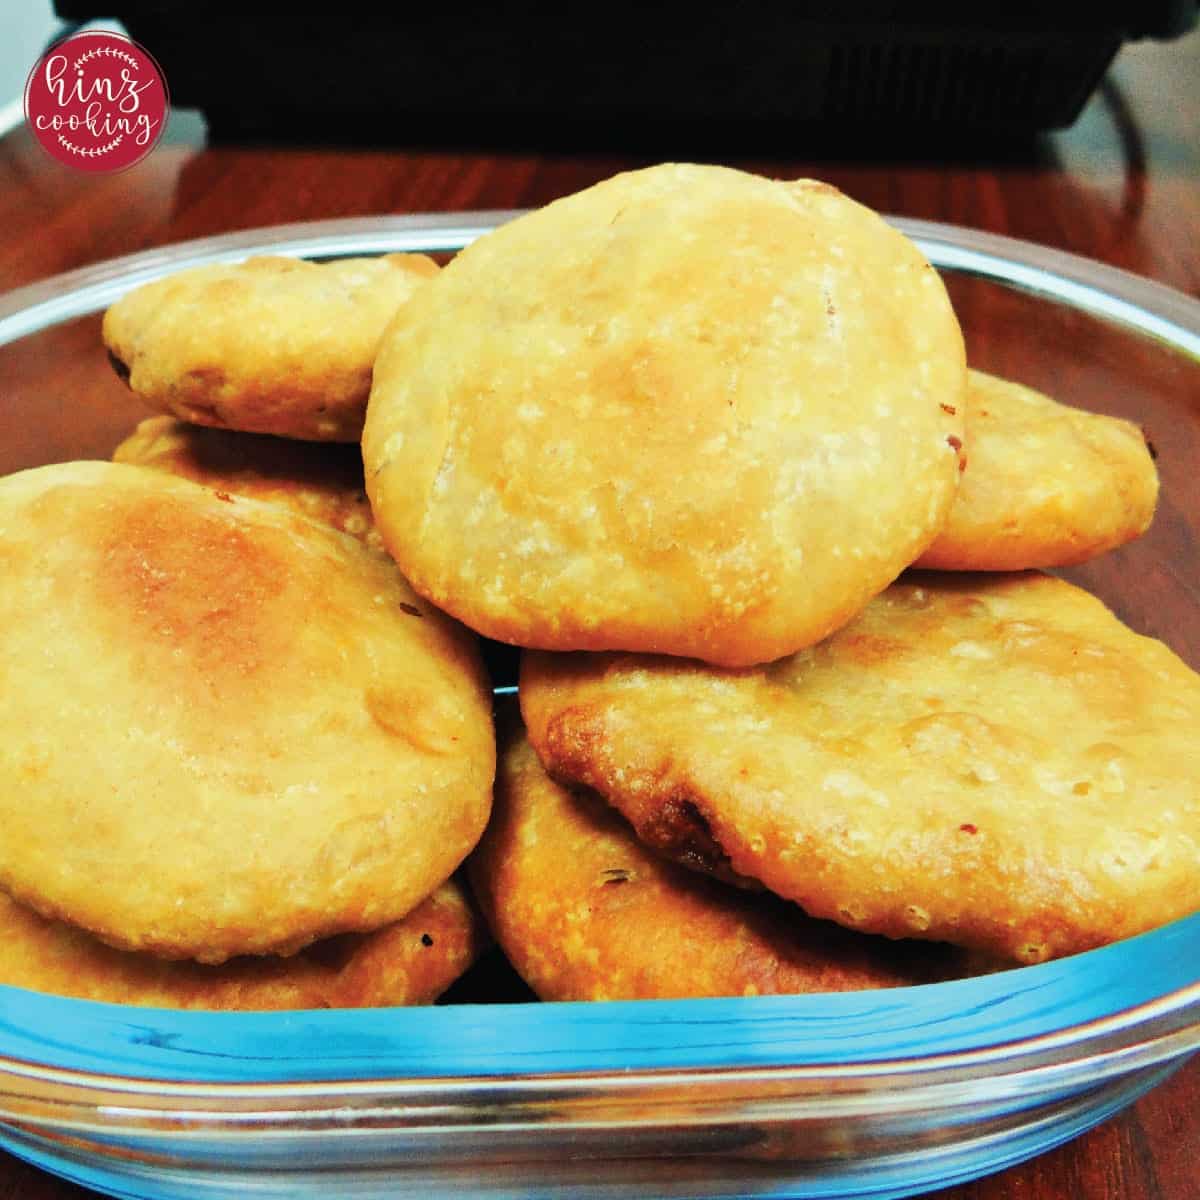
- Karachi style kachori is flat and extra crispy, always served with aloo ki sabzi.
- Punjabi style kachori is round and slightly puffed, with a flakier, more layered texture.
- Keema kachori is popular as a festive snack, especially during Eid.
All of them share the same khasta (crunchy, flaky) quality in the shell — and that starts with the dough.
Khasta Kachori Dough — The Secret to Crispiness
The dough is everything. Here is how the texture changes based on how you make it:
- Soft and moist dough → soft kachori (good for those who prefer a bread-like bite)
- Semi-soft dough → crispy khasta kachori (this is what I use in this recipe)
- Semi-soft dough + rice flour → extra crispy, ultra-crunchy kachori
The fat-to-flour ratio also matters. Work the oil into the flour until it resembles breadcrumbs before adding water — this is called the moyen technique and it is what creates the flaky, layered shell when fried.
Tip: Do not use baking powder in your kachori dough. It changes the texture completely and you will not get the authentic khasta result.
🧾 Ingredients & Substitutions
Here’s a quick breakdown of the ingredients used in this crispy aloo kachori recipe to help you get the best flavor and texture:
For the Potato Filling
- Boiled potatoes: Use medium-sized potatoes, well-cooked and easy to mash
- Cumin & coriander seeds: Add authentic Indian street-style aroma
- Green chilies: Provide a mild heat (adjust to taste)
- Chaat masala: Adds tangy and slightly spicy flavor
- Spices: Red chili powder and salt balance the taste
For the Kachori Dough
- All-purpose flour (maida): Gives flaky, khasta texture
(You can substitute with wheat flour for a healthier version, but texture will be less crispy) - Oil: Helps create a crumbly dough for crispiness
- Cumin seeds: Add subtle flavor to the crust
👩🍳 How to Make Aloo Kachori (Step-by-Step)
Follow these detailed steps to make perfect crispy kachori at home
Step 1: Prepare the Potato Filling
Heat oil in a pan over medium heat. Add cumin and coriander seeds and let them splutter until fragrant.
Add chopped green chilies, then mashed boiled potatoes directly into the pan.
Season with salt, red chili powder, and chaat masala. Mix well and cook for 1–2 minutes until combined.
👉 Tip: Make sure the filling is dry and fully cooled before stuffing.
Step 2: Prepare the Dough
In a bowl, mix flour, salt, and cumin seeds. Add oil and rub it into the flour until it resembles breadcrumbs.
Gradually add water and knead into a semi-soft, smooth dough. Do not over-knead.
Apply a few drops of oil on top, cover, and rest for at least 20 minutes.
👉 Tip: Resting helps create the signature khasta (flaky) texture.
Step 3: Shape the Kachori
Divide the dough into small equal portions. Flatten each into a small disc.
Place potato filling in the center, bring edges together, seal tightly, and remove excess dough.
Flatten gently into a thick disc (about 1 cm).
👉 Tip: Ensure no cracks or exposed filling.
Step 4: Fry Until Crispy
Heat oil on medium heat. Add kachori gently and fry without overcrowding.
Cook slowly, turning occasionally, until golden brown and crispy (about 6–8 minutes).
👉 Tip: Frying on medium-low heat ensures even cooking and crispiness.
💡 Tips for the Crispiest Khasta Kachori
These are the tips that make the difference between an average kachori and an exceptionally crispy one — explained so you understand why each one matters:
- Do not make the dough too soft. A soft dough absorbs more oil and produces a dense, chewy shell instead of a khasta one.
- Rub oil into the flour properly. The crumb-like texture you create before adding water is what causes the shell to flake and puff during frying — similar to how shortcrust pastry works.
- Rest the dough for 20 minutes minimum. Resting lets gluten strands relax, making the dough pliable and preventing it from shrinking back when shaped.
- Cool the filling before stuffing. Hot filling creates steam inside the dough ball, which can cause it to burst during frying.
- Seal the edges firmly. Any gap is an entry point for oil and an exit for the filling. Press and pinch firmly.
- Do not overstuff. A thin, even layer of filling fries evenly. Too much filling makes the centre stay raw while the outside over-browns.
- For extra crispiness: Add 2 teaspoon cornflour (cornstarch) to every 1 cup of maida. Rice flour also works brilliantly — it intensifies the crunch.
- Fry at medium heat. High heat browns the outside quickly while the inside stays doughy. Medium heat allows the shell to cook through and puff properly.
- Drain on a wire rack. A flat plate traps steam underneath and softens the base. A wire rack or tilted kitchen paper allows air to circulate on all sides.
🍽️ What to Serve With Aloo Kachori?
This is where the meal truly comes together. Serve your potato kachori with:
- Aloo ki Bhujia — the classic pairing. The dry, spiced potato curry is the traditional accompaniment to kachori across both India and Pakistan.
- Chole Masala — a heartier option. Chickpea curry with kachori is a beloved combination, especially in Punjabi cooking.
- Green Chutney (Hari Chutney) — a fresh, herby dip that cuts through the richness of the fried dough.
- Imli ki Chutney (Tamarind Chutney) — sweet, tangy, and the perfect counterpoint to the spiced filling.
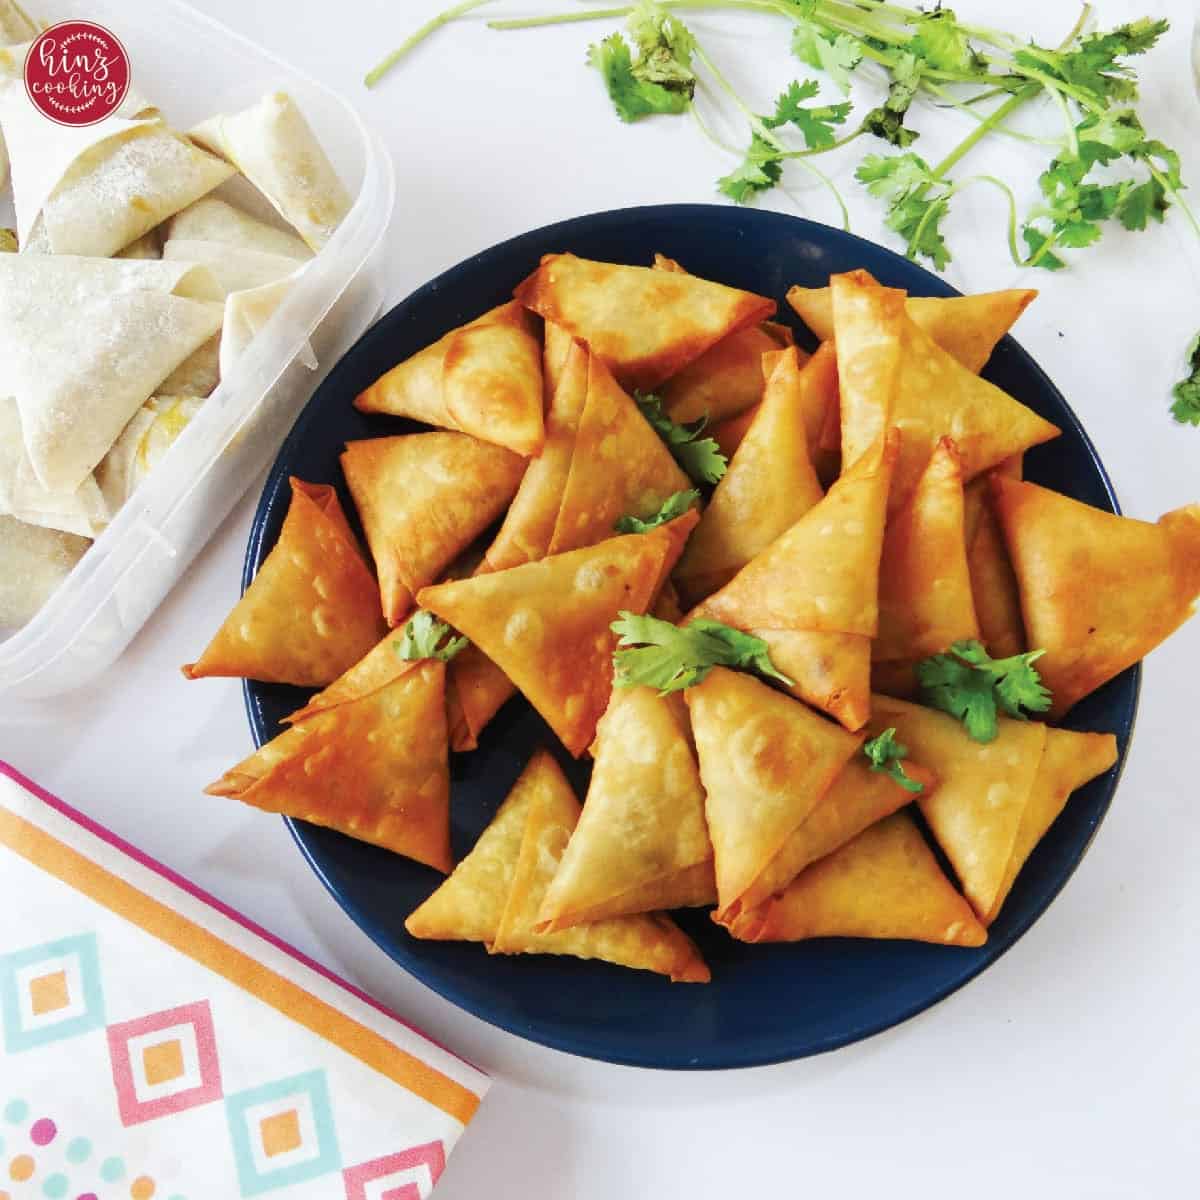
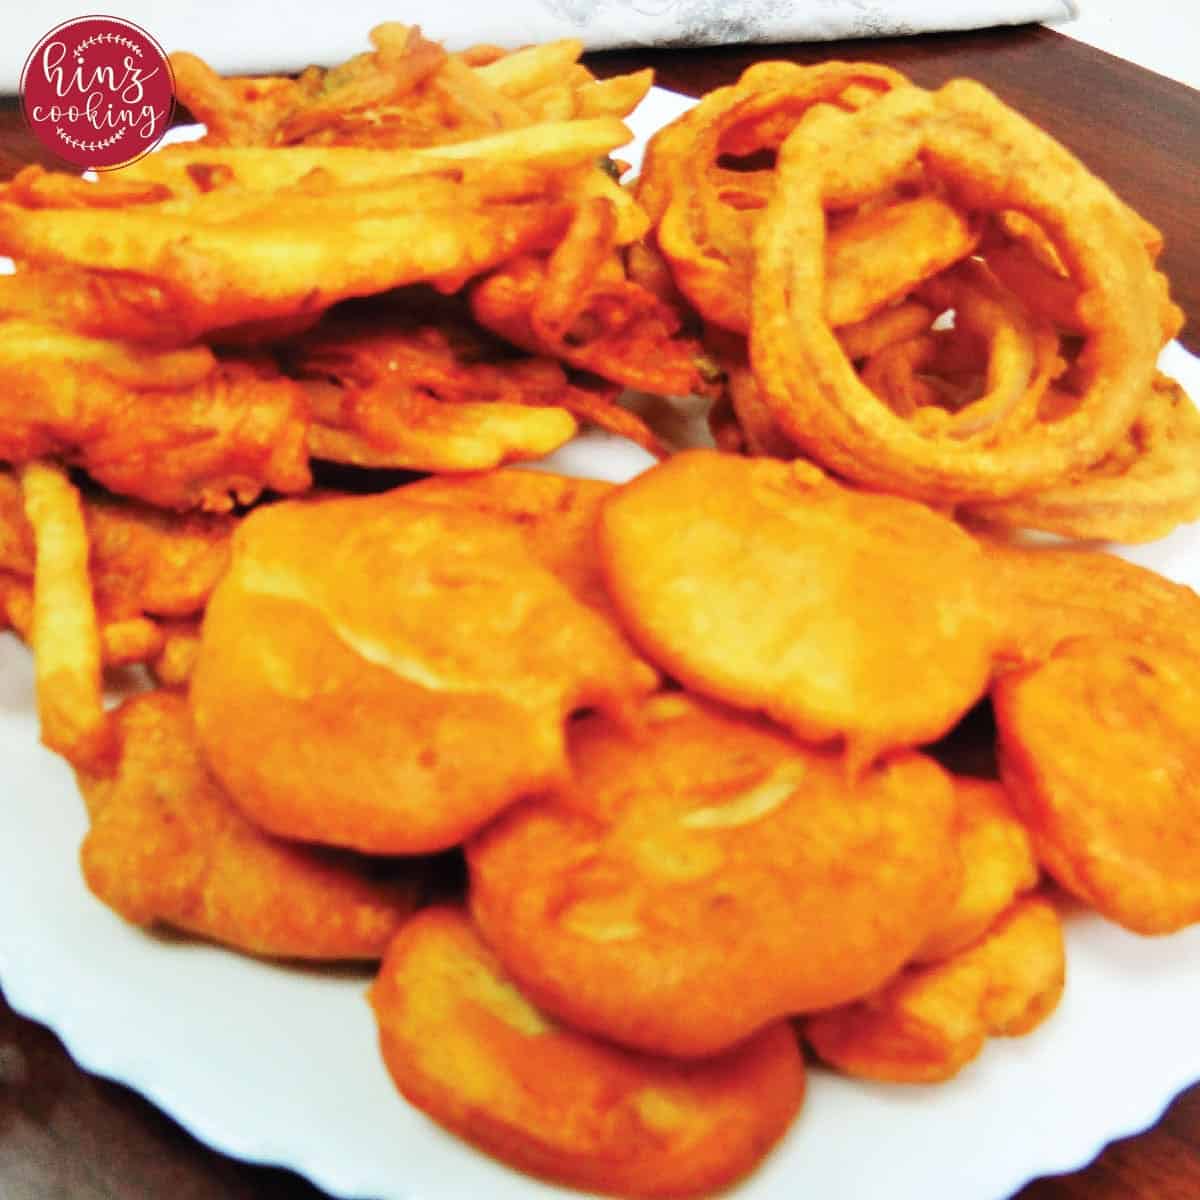
For a full chai-time or Ramadan iftar spread, pair with Dahi Baray, Samosa, and Pakora.
🧊 How to Store Kachori?
Before Frying (Recommended Method)
Shape the kachoris and lay them on a tray in a single layer. Refrigerate for 1 hour until firm. Transfer to a zip-lock bag or airtight container — since they are individually firm, they will not stick together. Store in the freezer for up to 1 week. Fry directly from frozen, adding 2–3 extra minutes to the frying time.
After Frying
Pack leftover fried kachoris in a brown paper bag (it absorbs moisture and prevents sogginess). Place the bag inside an airtight glass container and refrigerate for up to 3–4 days. Do not store longer than this — the potato filling can change in taste and texture.
Reheating Fried Kachori
Microwave for 90 seconds to heat through, then place on a dry skillet (tawa) over very low heat for 2–3 minutes per side — with no lid. The microwave reheats the filling; the skillet restores the crunch. Do not cover, or steam will make the shell go limp.
🙋🏻♂️ FAQ'S
Three common reasons:
- the dough was too soft,
- the oil was not hot enough when the kachori went in (causing the shell to soak up oil before the crust sets),
- or the kachori was rested on a flat plate after frying instead of a wire rack. All three trap moisture in the shell.
Add 2 teaspoon cornflour per cup of all purpose flour (maida), or substitute 2 tablespoon of the all purpose flour (maida) with rice flour. Both add extra crunch without changing the flavor.
The most common causes are: the dough was not kneaded and rested properly, the edges were not sealed tightly, or there was too much filling. The filling expands slightly when heated — always leave some room.
Yes. The texture will be denser and slightly less flaky than with maida, but it is a healthier option and still tastes good. If using atta, add an extra ½ teaspoon of oil to the dough to compensate for the lower fat absorption of whole wheat.
You can bake at 200°C (400°F) for 20–25 minutes, brushing with oil before and midway through. The result is less crispy and will not puff the same way, but it is a reasonable lower-oil alternative.
Yes, you can bake kachori in an air fryer for a healthier alternative. Lightly brush them with oil and cook at 180°C (356°F) until golden and crispy, flipping halfway through.
The texture will be slightly less flaky than deep-fried kachori but still delicious and crunchy.
Tip: For better “khasta” texture in air fryer:
Add 1 tablespoon semolina (sooji) to dough
Or mix ghee + oil instead of just oil
This recipe most closely resembles the Karachi-style kachori — flat and extra crispy — served with aloo ki sabzi. The Punjabi version is rounder and fluffier. Both use the same dough and filling base.
Both are fried snacks with spiced potato filling, but the dough and shape are different. Samosa dough is thinner and less flaky; the shape is triangular. Kachori dough uses more fat (giving the khasta quality), and the shape is round and disc-like.
❤️ Love this Khasta aloo kachori recipe?
⭐ Rate this recipe below
💬 Drop your questions in the comments
📲 Follow along on Instagram for more recipes.
🍳More Snack Ideas
Aloo Kachori Recipe (Khasta Potato Kachori)
Equipment
- Frying Pan For deep frying
- Potato Masher To mash the potatoes
Ingredients
Potato Filling
- 2 Boiled Potatoes Medium size
- 2 teaspoon Oil
- ½ teaspoon Cumin seeds
- ½ teaspoon Coriander Seeds
- 1 teaspoon Green Chilies Finely chopped
- 1 teaspoon Salt
- 1 teaspoon Red Chili Powder
- ½ teaspoon Chaat Masala
Kachori Dough
- 2 cups All Purpose flour (Maida) Substitute: Wheat flour
- 1 teaspoon Salt
- ⅓ teaspoon Cumin seeds
- 1 tablespoon Oil
- Water to make a semi-soft dough
Instructions
Preparation of Potato Filling
- Heat 2 teaspoon oil in a pan over medium heat.
- Add cumin seeds and coriander seeds. Let them splutter for about 15 seconds until fragrant.
- Add finely chopped green chilies and stir briefly.
- Add boiled potatoes and mash them directly in the pan.
- Season with salt, red chili powder, and chaat masala.
- Mix well and cook for 1–2 minutes to combine the spices with the potato.
- Remove from heat and let the filling cool completely before stuffing. (Warm filling can make the dough soggy).
Prepare the Kachori Dough
- In a large bowl, combine all-purpose flour, salt, and cumin seeds.
- Add oil and rub it into the flour with your fingertips until the mixture resembles coarse breadcrumbs. This step is essential for the khasta (flaky) texture.
- Add water gradually — a little at a time — and knead into a semi-soft, smooth dough. Do not over-knead.
- Rub a few drops of oil on the surface of the dough ball.
- Cover with a damp cloth and rest for at least 20 minutes. This resting time is non-negotiable — it relaxes the gluten and makes the dough easier to shape.
Shape the Kachori
- After resting, knead the dough briefly and divide it into equal small balls (roughly golf ball size, or slightly smaller).
- Flatten each ball with your palms into a small round disc.
- Place a tablespoon of the cooled potato filling in the center.
- Bring the edges of the disc up around the filling, pinching them together firmly. Gather and twist the excess dough at the top, then tear off the extra.
- Remove the extra part and make it flat using hands.
- Flatten the stuffed ball gently using your palm into a thick, even disc — about 1 cm thick.
- Make sure no filling is exposed and the edges are well sealed.
Deep Fry the Kachori
- Heat oil in a deep pan, wok or kadai to medium-high heat (around 170°C / 340°F).
- Test the oil by dropping in a tiny piece of dough — it should rise to the surface steadily without burning immediately.
- Slide kachoris into the oil gently. Do not overcrowd the pan.
- Fry on medium heat, turning occasionally, until evenly golden brown — approximately 6–8 minutes.
- Remove and drain on kitchen paper or a wire rack to release excess oil.
- Your **khasta aloo ki kachori** is ready to serve.
Video
Notes
- Always rest the dough for better texture
- Use a firm dough, not soft
- Use fresh spices for maximum flavor
- Keep oil temperature consistent
- Press gently—don’t roll too thin
- Always fry on low to medium heat for even crispiness
- Don’t overcrowd the pan while frying
- Add a little semolina (sooji) for extra crunch
- Let the filling cool before stuffing
- Moong dal kachori
- Onion kachori
- Keema kachori
- Matar (pea) kachori


Hinz
Khasta kachori recipe step by step for foodies to make at home!
Yum food
❤️