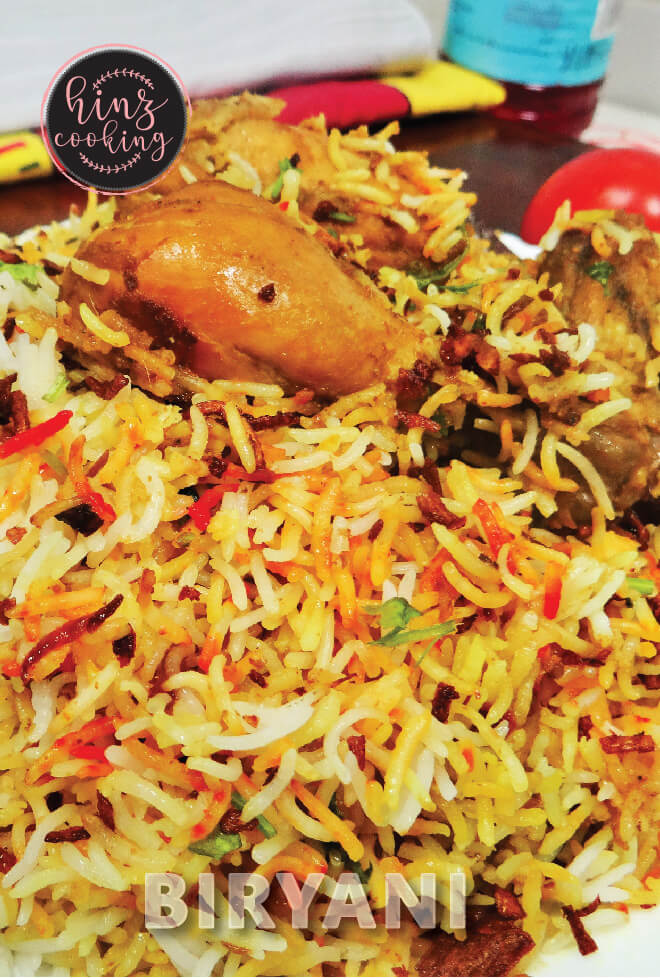
Biryani is more than a recipe. It is the dish I grew up eating at every Eid, every wedding, every Friday family lunch in our home in Pakistan. The aroma of whole spices blooming in hot oil, the saffron-stained rice piled high on a platter, the way the dum steam fogs up the kitchen — that is what biryani means to me, and I suspect to millions of you as well.
Over the past decade of cooking and blogging, I have tested dozens of biryani variations — from the fiery Karachi-style masala my mother taught me to the delicate Hyderabadi dum biryani I learned from a friend in Hyderabad. This guide brings everything together: every major biryani type, authentic regional styles, the right spices, perfect rice technique, and pro tips I have gathered from years of trial, error, and obsession.
Whether you are making biryani for the first time or looking to sharpen your technique, bookmark this page. It is your one-stop reference for everything biryani.
In this guide, I’ve gathered my most popular recipes along with tips for cooking perfect rice, blending authentic masalas, and pairing with refreshing raita. Whether you’re a beginner or pro, this page is your one-stop resource for making the best biryani at home.
Jump to:
- What is Biryani?
- Types of Biryani By Protein
- Regional Biryani Styles
- Indian Biryani Styles
- Fusion & Modern Biryani Variations
- Essential Biryani Spices & Masala
- How to Make Biryani at Home — Step by Step
- Perfect Basmati Rice for Biryani
- Pro Tips from My Kitchen
- Serving Ideas & Side Dishes
- How to Store & Reheat Biryani
- FAQS
- Related Recipes
- You Might Like This
- Biryani Recipes (Authentic Pakistani & Indian Biryani Guide)
What is Biryani?
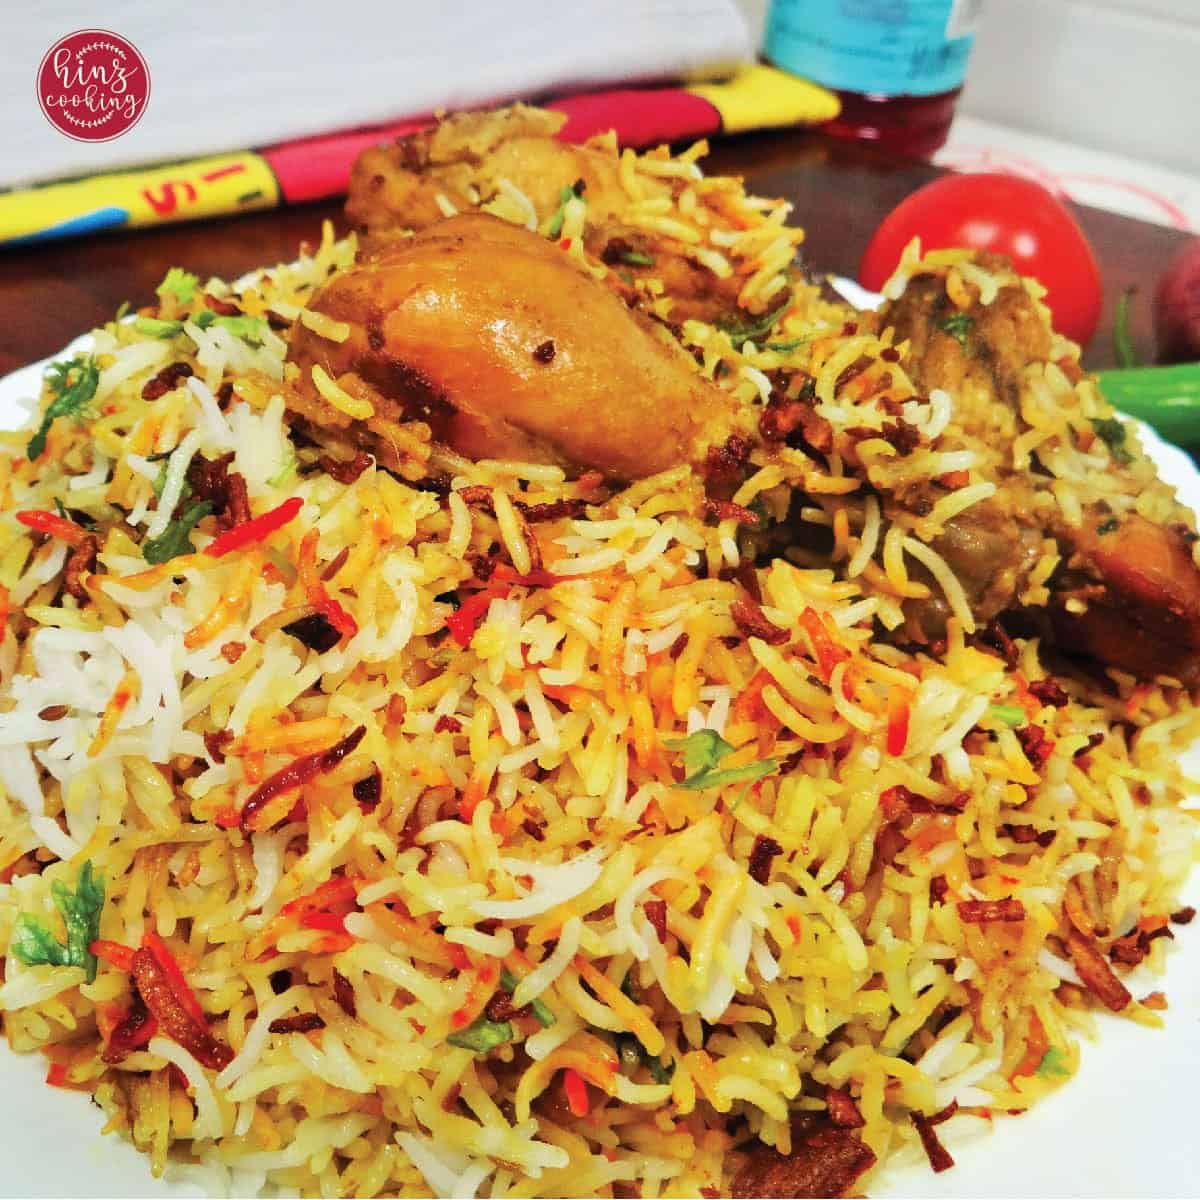
Biryani is a layered rice dish made with fragrant long-grain basmati rice, marinated meat or vegetables, and a deeply spiced curry — all slow-cooked together using the dum (steam-sealing) method. Unlike a simple rice dish, biryani is built in layers: partly cooked rice goes on top of a rich meat curry, sealed in a heavy pot, and finished over low heat so every grain absorbs the aromas from below.
The result is something no single-pot dish can replicate — each spoonful carries both the lightness of fluffy basmati and the richness of a slow-cooked masala.
A Brief History of Biryani
The origins of biryani are debated, but most culinary historians trace it to the royal kitchens of the Mughal Empire, where Persian pilaf (layered rice with meat) fused with South Asian spices and cooking traditions. Some accounts credit Arab traders who brought rice-and-meat dishes through coastal trade routes, which evolved into regional South Asian styles over centuries.
As biryani traveled through Hyderabad, Lucknow, Karachi, Sindh, and Bengal, each city and region shaped it with local ingredients, spice profiles, and techniques. Today biryani is one of the most ordered dishes in the world, beloved from Lahore to London to Los Angeles.
Biryani vs. Pulao — What's the Difference?
This is the most common question I get, so let me answer it clearly.
| Feature | Biryani | Pulao |
|---|---|---|
| Cooking method | Layered, dum (steam) cooked | One-pot, simmered together |
| Rice cooking | Parboiled separately (70%), then layered | Cooked directly in stock/broth with meat |
| Spice intensity | Bold, complex, multi-layered | Lighter, subtler, more aromatic |
| Texture | Distinct, long, fluffy grains with color variation | Softer grains, uniform color |
| Time | Longer (marination + layering + dum) | Quicker |
| Occasion | Festive, celebratory | Everyday, weeknight |
The key difference is the dum technique. Biryani gets its depth of flavor because the steam carries the spiced curry's aroma upward through the layers of rice. Pulao is delicious in its own right, but it is a simpler, lighter dish.
Types of Biryani By Protein
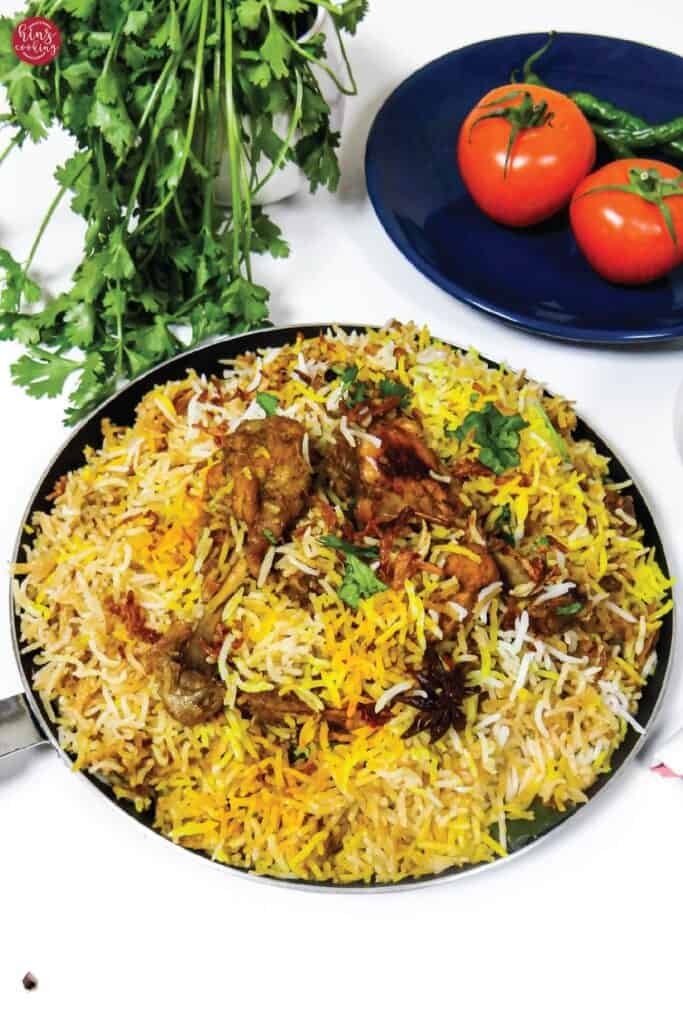
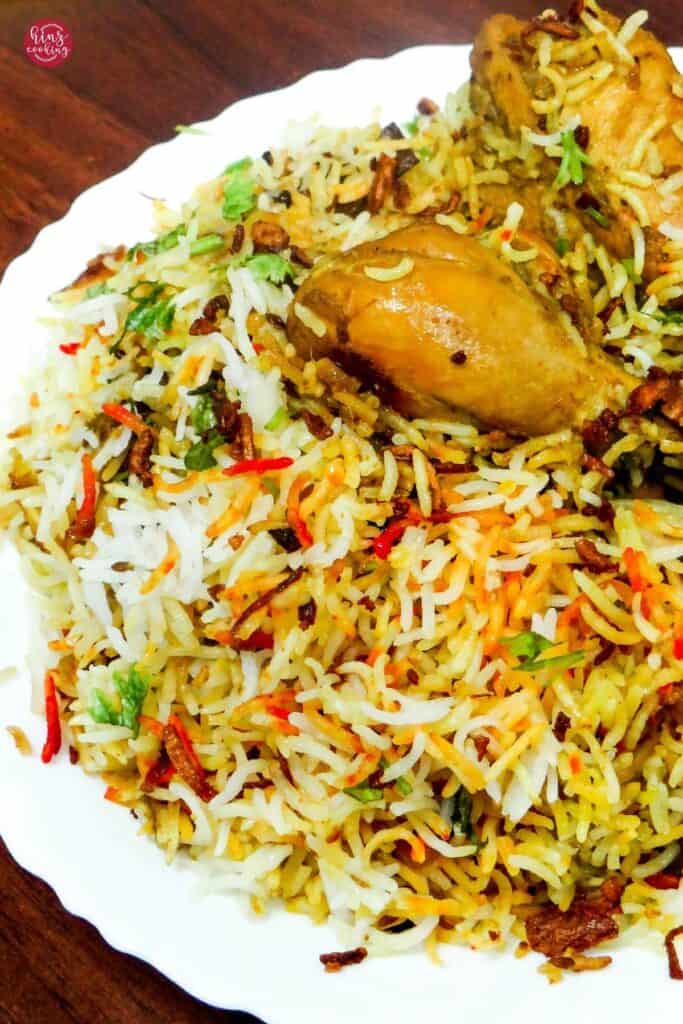
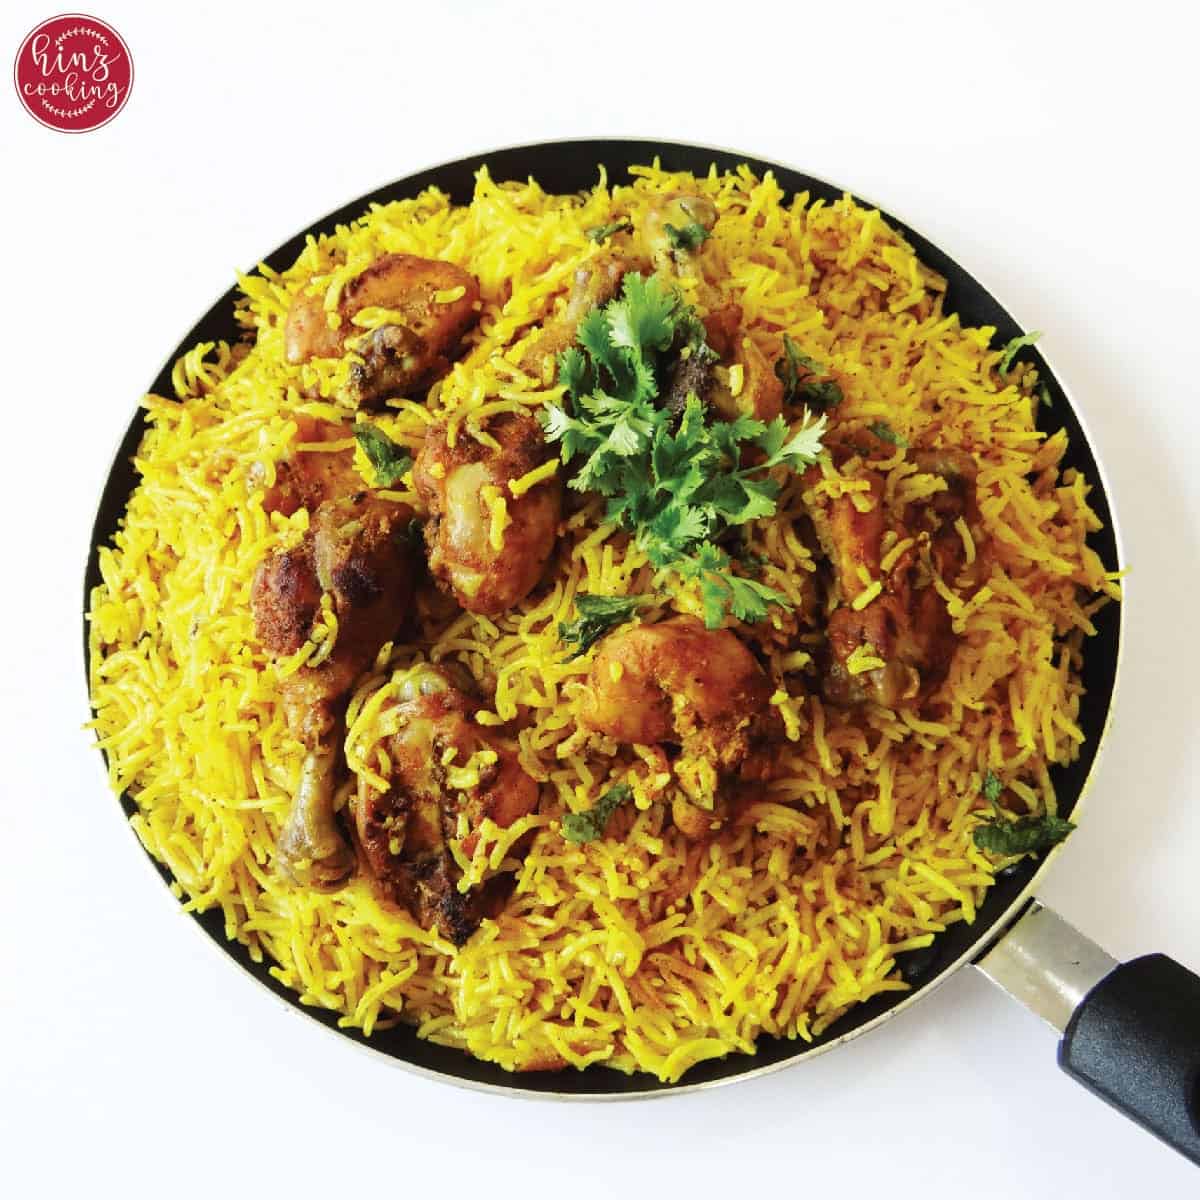
1. Chicken Biryani
Chicken biryani is the most popular and widely cooked version worldwide — and for good reason. Chicken cooks relatively quickly, absorbs spices beautifully, and produces a juicy, tender masala that layers perfectly with basmati rice. I use bone-in, skin-off chicken pieces (a mix of thighs, drumsticks, and breast) because the bones add flavor to the curry during cooking.
The trick to great chicken biryani is a proper marinade — at least one hour, overnight if possible — in yogurt, ginger-garlic paste, and whole spices. This breaks down the protein slightly and infuses it with flavor before it even touches the pot.
👉 Full Chicken Biryani Recipe with Step-by-Step Photos

2. Mutton Biryani
Mutton (goat meat) biryani is the traditional choice for weddings and Eid in Pakistan and India. The meat has a deeper, more robust flavor than chicken, and it requires a longer cooking time — but the patience is worth it. The slow-rendered fat from mutton makes the curry richer and creates a more luxurious rice.
I recommend marinating mutton overnight and cooking it low and slow before layering. Mutton biryani is ideal for occasions when you want to make a real impression.

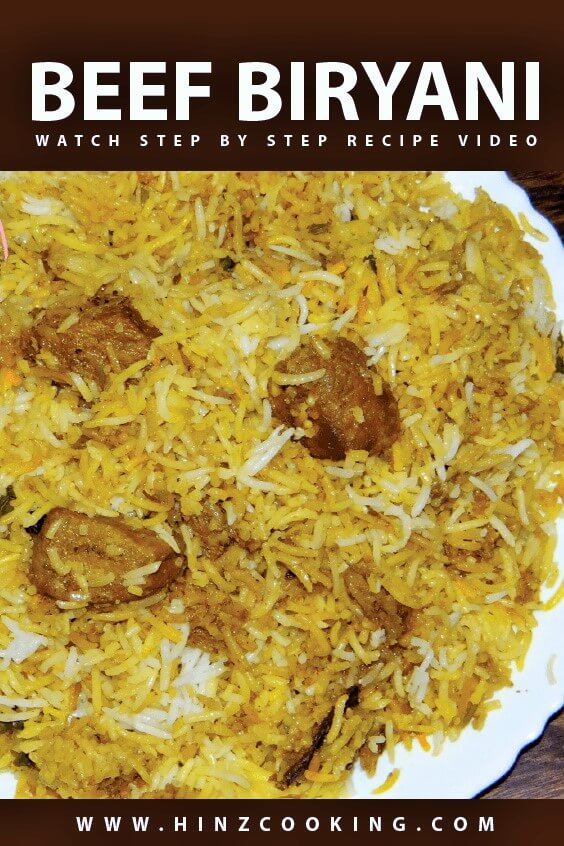
3. Beef Biryani
Beef biryani is especially popular in Karachi and among beef-loving communities worldwide. The cut matters enormously: I use bone-in beef (shin or brisket) for the most flavor. A trending variation worth trying is Nalli Gosht Biryani, which uses beef shank — the marrow melts into the curry and creates a silky, deeply rich masala.
Beef takes longer than chicken (typically 60–90 minutes to tenderize properly), so allow extra time and cook covered on low heat before assembling the biryani.
4. Mutton/Beef Shank Biryani (Nalli Gosht Biryani)
A modern restaurant favorite that has earned a permanent place in my kitchen. Nalli (marrow bone) pieces are slow-cooked until the meat falls off the bone, then layered into biryani. The marrow dissolves into the gravy, creating an incredibly rich, silky sauce that coats every grain of rice. This is the biryani I make when I really want to show off.
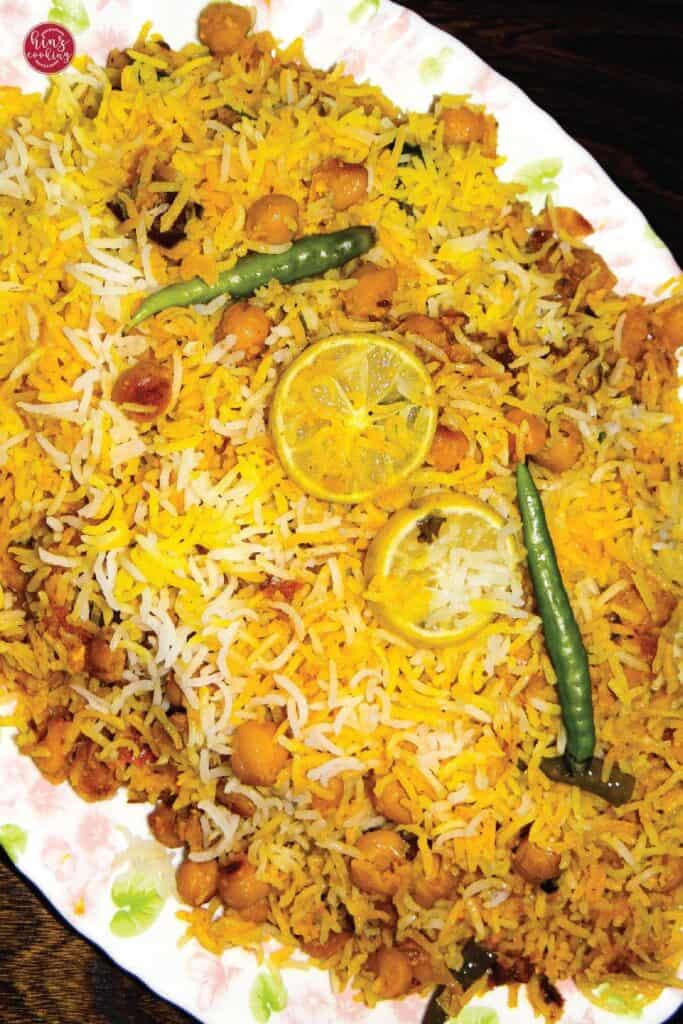
5. Chickpea Biryani (Chana Biryani)
A wholesome, protein-rich vegetarian option. I cook the chickpeas in a tangy, tomato-heavy masala that rivals any meat-based version. This is my go-to for meatless Fridays and for guests who don't eat meat — nobody feels like they're missing out.
6. Paneer Biryani
Cubes of fresh paneer (Indian cottage cheese) are marinated and cooked in a creamy masala, then layered with rice. Paneer holds its shape during dum cooking and absorbs spices well. A great option for lacto-vegetarian guests.
7. Prawn Biryani (Jhinga Biryani)
Quick to make (prawns cook in minutes) and intensely flavorful. I use large tiger prawns and a light masala with coconut milk to balance the seafood flavor. Because prawns cook so fast, I add them at the very end of the curry stage — just until pink and cooked through — before layering.
8. Fish Biryani
Fish biryani is most popular in coastal regions of Pakistan, Bangladesh, and South India. Use firm, meaty fish that won't break apart during dum — I recommend rohu, tilapia, or salmon. The masala is lighter and more aromatic than meat versions, and the cooking time is much shorter.
9. Vegetable Biryani
A colorful, fragrant option made with seasonal vegetables — potatoes, peas, carrots, cauliflower, and bell peppers work beautifully. The key is not to overcook the vegetables in the curry stage; they finish cooking during dum. I add a handful of fresh mint and a squeeze of lemon for brightness.
Regional Biryani Styles
Pakistani Biryani Styles
Pakistani biryani is bold, spicy, and generous with whole spices. There are several distinct regional styles within Pakistan itself, each worth understanding separately.
👉 Full Recipe of Pakistani biryani
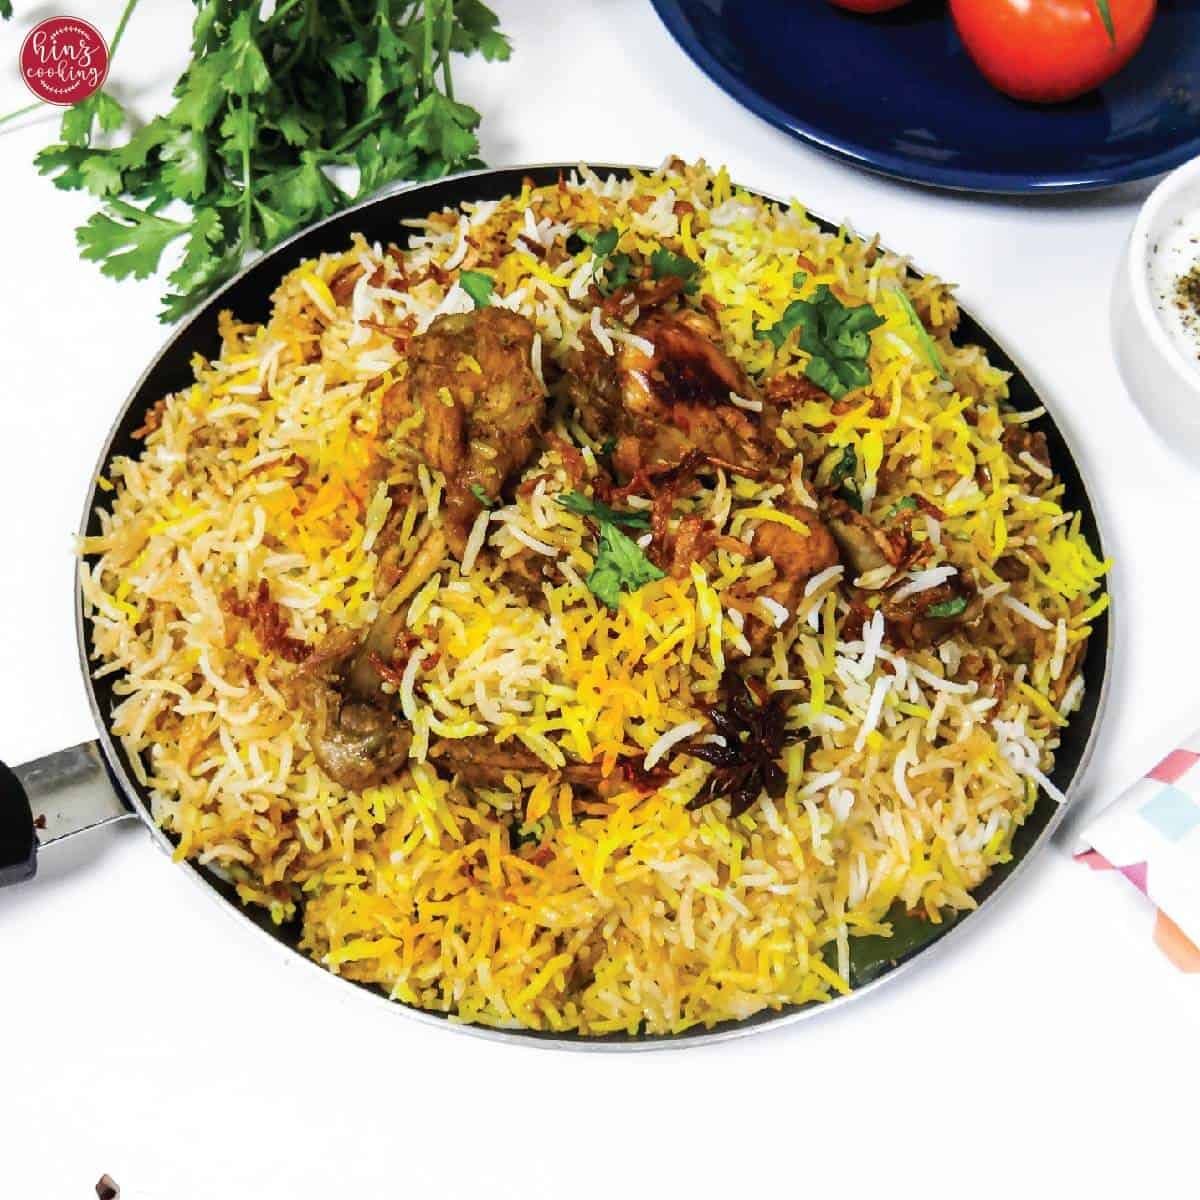
Karachi Biryani
Karachi biryani is the spiciest, most vibrant of all Pakistani styles. What makes it unique is the heavy use of tomatoes (sometimes blended into a thick base), generous oil, dried plums (aloo bukhara), and whole potatoes cooked right inside the masala. The flavor is tangy, fiery, and rich — a full sensory experience.
Karachi-style biryani is typically not cooked on dum as long as Hyderabadi; the masala is looser and more abundant. Serve with a cooling green raita and sliced onions.
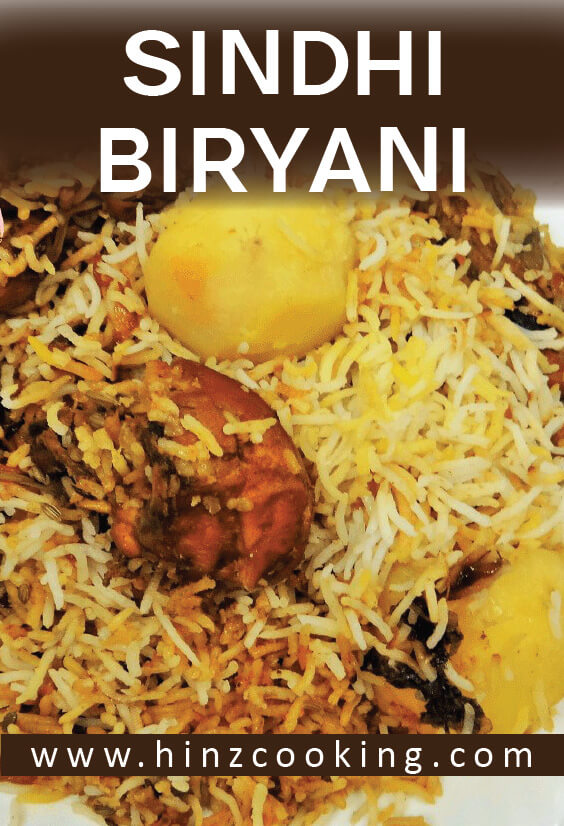
Sindhi Biryani
Originating from the Sindh province of Pakistan, Sindhi biryani is distinguished by its inclusion of dried plums (aloo bukhara), potatoes, and sour yogurt in the masala. The result is a uniquely sweet-tangy-spicy flavor profile unlike any other regional style.
Sindhi biryani is made with chicken, mutton, or beef and cooked layered with plenty of fried onions and fresh coriander. It is one of the most recognized styles outside of Pakistan.
Lahori Biryani
Lahori biryani is slightly less spicy than Karachi-style and tends to feature a drier masala (less tomato, more yogurt). The emphasis is on the fragrance of whole spices — cardamom, cinnamon, cloves — and the characteristic golden color from turmeric and saffron. It has a cleaner, more refined spice profile.
Indian Biryani Styles
Hyderabadi Biryani
Hyderabadi biryani is arguably the most famous biryani style in the world — and the most technically demanding. It uses the kacchi (raw meat) or pakki (pre-cooked meat) method of dum cooking, where the marinated raw meat is layered directly with par-cooked rice and sealed, cooking entirely on slow steam.
The signature elements: saffron-steeped milk poured over the top layer, birista (crispy fried onions), fresh mint, and a sealed pot (traditionally with dough). The resulting rice is fragrant, delicate, and deeply aromatic — worthy of its reputation.
👉 Full Hyderabadi Chicken Dum Biryani Recipe
Lucknowi (Awadhi) Biryani
Lucknowi biryani from the Awadh region of Uttar Pradesh is the most refined and subtle of all biryani styles. It uses the dum pukht method — slow steam cooking in a sealed vessel — with an emphasis on fragrance over spice heat. The masala is milder, often built on rose water, kewra, and very lightly spiced.
The hallmark of Awadhi cooking is restraint. The meat is usually pre-cooked in a light curry, then layered with saffron rice. Lucknowi biryani is what you make when you want elegance over intensity.
Kolkata Biryani
Kolkata biryani has a fascinating history: it descended from the Awadhi style but was adapted after the last Nawab of Awadh moved to Bengal. One of its most distinctive features is the addition of boiled eggs and potatoes — a practical addition from that era that became a permanent signature.
Kolkata biryani is more subtly spiced than Pakistani styles, with a yellowish tint from saffron and rose water. It is sweeter and more aromatic, and the rice has a distinctly light, fluffy texture.
Bombay / Mumbai Biryani
Mumbai biryani borrows from both Sindhi and Hyderabadi traditions. It is medium-spiced, uses fried potatoes layered inside, and often includes kewra water for fragrance. The masala is tangy from tomatoes and yogurt combined. You will also find sautéed onions and mint in every layer.
Thalassery Biryani (Kerala)
A Southern Indian style worth mentioning — Thalassery biryani from Kerala uses khaima (short-grain) rice rather than basmati, which gives it a completely different texture. The masala is cooked with coconut oil and features curry leaves, giving it a distinctly coastal South Indian flavor. One of the most unique regional variations in the subcontinent.
Middle Eastern Cousins: Kabsa & Mandi
While not traditional biryani, I always include these in my biryani guide because they share roots and are frequently searched alongside biryani recipes.
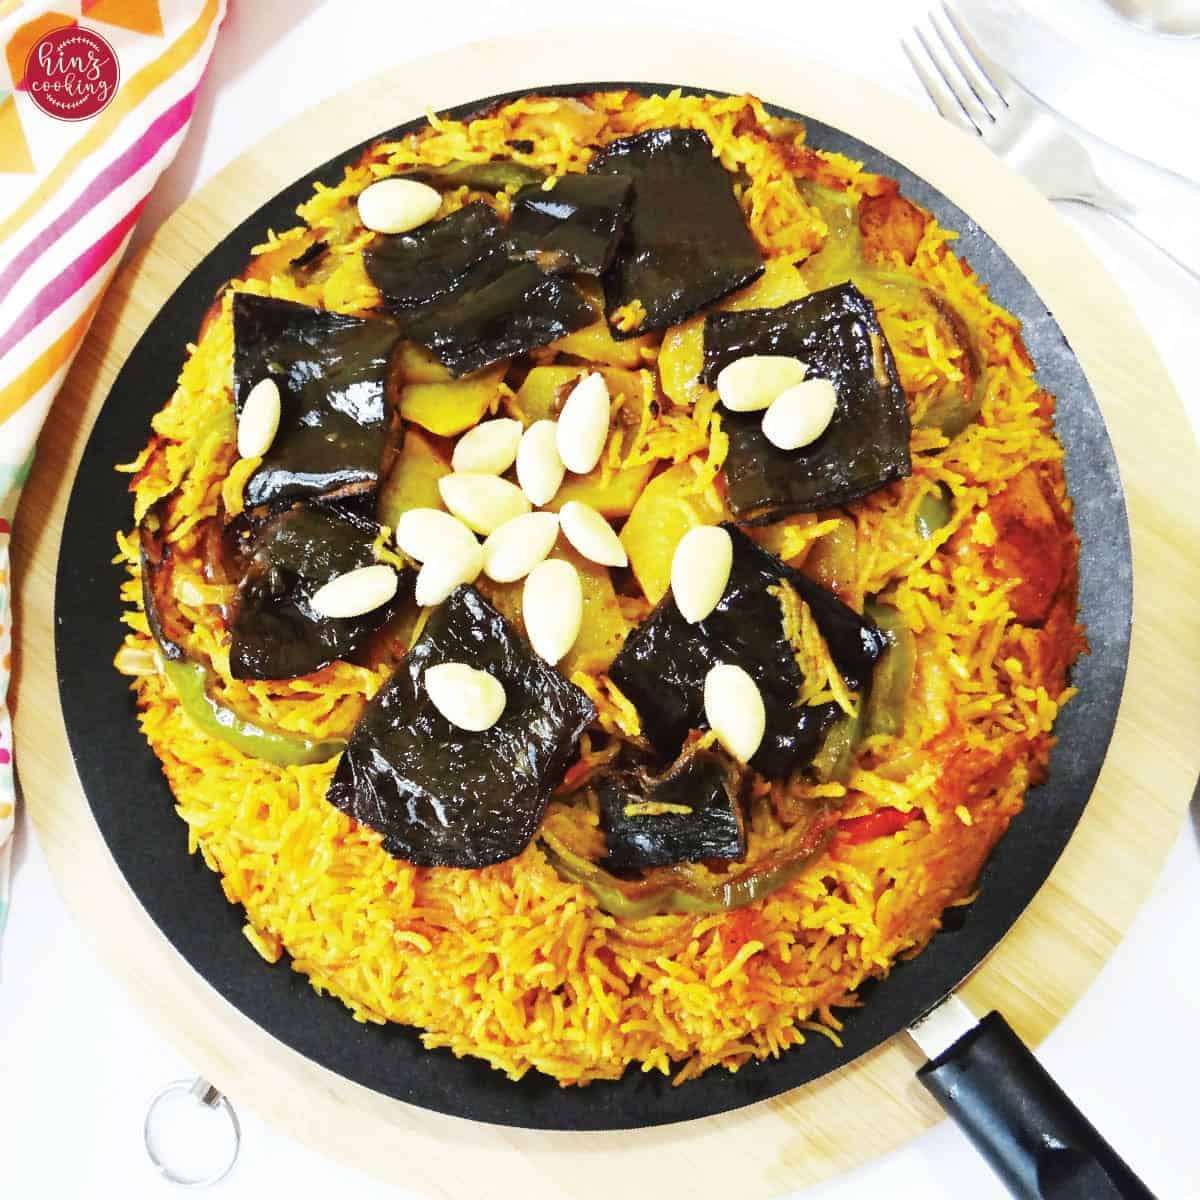
Kabsa is a Saudi Arabian rice and meat dish cooked with tomatoes, spices, and dried lemon (loomi). It has a tangy, slightly sweet flavor and is typically served with daqoos (Arabic tomato sauce).
Mandi is made by slow-cooking meat and rice in a tandoor (underground clay oven), which gives it a smoky, caramelized flavor unlike anything else. Restaurant versions use charcoal smoke in a covered pot to replicate this.
👉 Try my Chicken Kabsa and Chicken Mandi recipes.
Fusion & Modern Biryani Variations
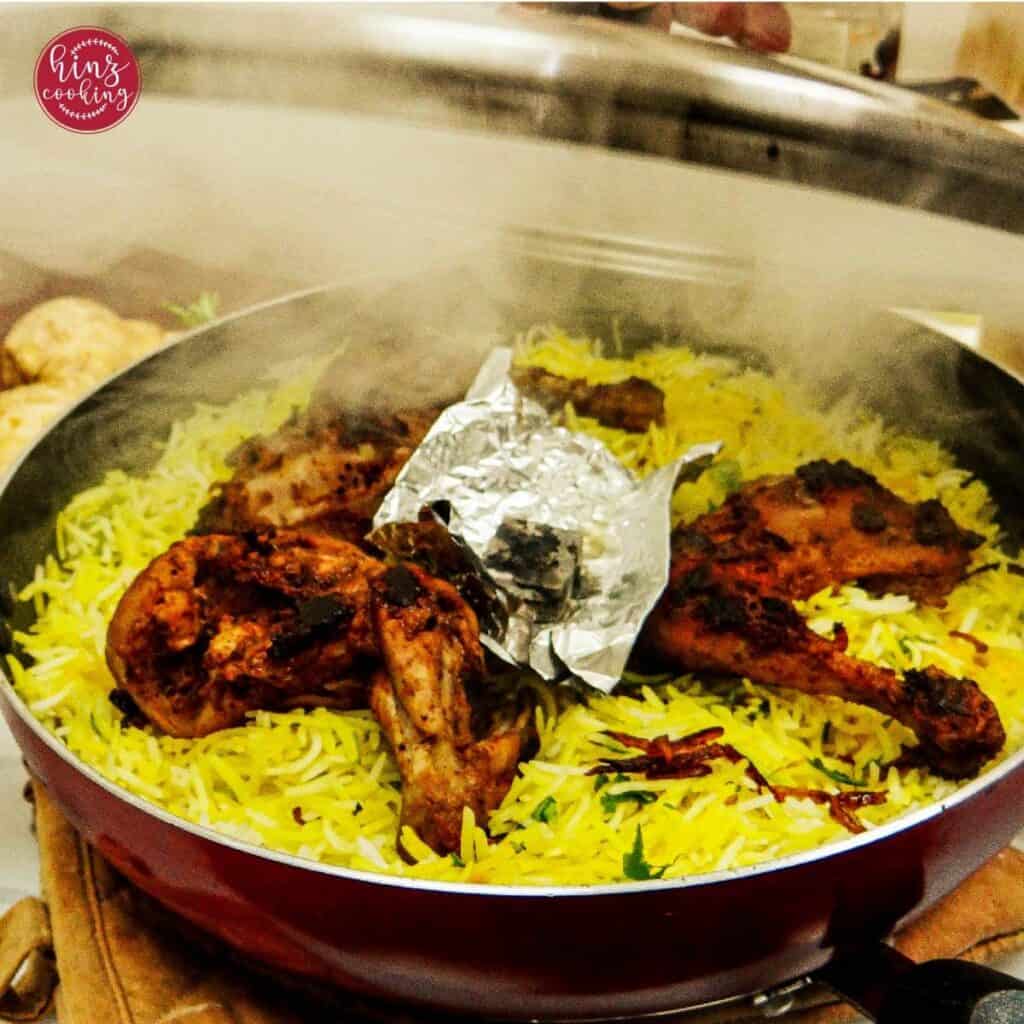
Tikka Biryani
Marinated chicken tikka (grilled or baked) is layered into biryani instead of a traditional curry base. The smoky, charred flavor of the tikka adds a completely new dimension. This is one of my most-requested recipes — it bridges grilled BBQ and classic biryani in one spectacular dish.
👉 Full Chicken Tikka Biryani Recipe
White Biryani (Sofiyani Biryani)
A lesser-known Hyderabadi style where the masala is kept deliberately pale — a white korma made with yogurt, cream, and mild spices — to create the signature ivory-colored rice. It looks understated but tastes extraordinary. The delicate, creamy flavor is a wonderful contrast to spicy biryanis.
Pulao Biryani (Fusion Style)
My own hybrid — a biryani built with a pulao-style rice (cooked in spiced stock) combined with a biryani masala layered on top. It bridges the two techniques and delivers a dish that is fragrant like pulao but bold like biryani. Polarizing for purists, but loved by almost everyone who tries it.
Instant Pot / Pressure Cooker Biryani
For busy weeknights, a pressure cooker biryani delivers 80% of the flavor in 30% of the time. I have tested this extensively and include specific timings and liquid ratios that work — the rice cooks under pressure with the curry without turning to mush.
Essential Biryani Spices & Masala
The spice blend is what separates a forgettable biryani from an unforgettable one. Here is every spice you need and exactly why it matters.
The Complete Biryani Spice List
| Spice | Local Name | Role in Biryani |
|---|---|---|
| Cumin seeds | Zeera | Earthy base; tempered in oil first to release aroma |
| Green cardamom | Choti elaichi | Sweet, floral fragrance throughout rice and curry |
| Black cardamom | Badi elaichi | Smoky, deep warmth; used sparingly |
| Cinnamon stick | Dalchini | Warm sweetness; adds depth without sharpness |
| Cloves | Laung | Bold, pungent kick; use with restraint |
| Bay leaves | Tez patta | Herbal background note; used in rice water and curry |
| Black pepper | Kali mirch | Gentle heat that builds gradually |
| Star anise | Badiyan | Licorice-like warmth; especially common in Sindhi style |
| Nutmeg & mace | Jaifal & javitri | Royal fragrance; used very sparingly |
| Coriander seeds | Dhaniya | Citrusy, nutty balance |
| Red chili powder | Lal mirch | Heat level; adjust to preference |
| Turmeric | Haldi | Color and mild earthiness |
| Ginger-garlic paste | Adrak-lehsan | Flavor foundation; use fresh for best results |
| Saffron | Zafran | Color and a subtle honey-like floral note; soaked in warm milk |
| Dried plums | Aloo bukhara | Tangy sweetness; used in Sindhi and Karachi styles |
| Kewra / rose water | — | Floral finishing fragrance; a few drops only |
| Biryani essence | — | Concentrated floral note; used very sparingly |
| Fried onions (birista) | Birista | Sweetness, color, and richness throughout the masala |
| Fresh mint | Pudina | Brightness and contrast in the layers |
| Fresh coriander | Dhaniya patta | Herbal freshness; used in layering |
| Green chilies | Hari mirch | Fresh, clean heat; scattered between layers |
Whole Garam Masala vs. Ground Spices
I use both in every biryani I make. Whole spices go into the hot oil at the start (and into the rice water) to release their aroma gradually. Ground spices are added with the yogurt marinade and curry base for a more intense, penetrating flavor. Using only one or the other leaves the biryani incomplete.
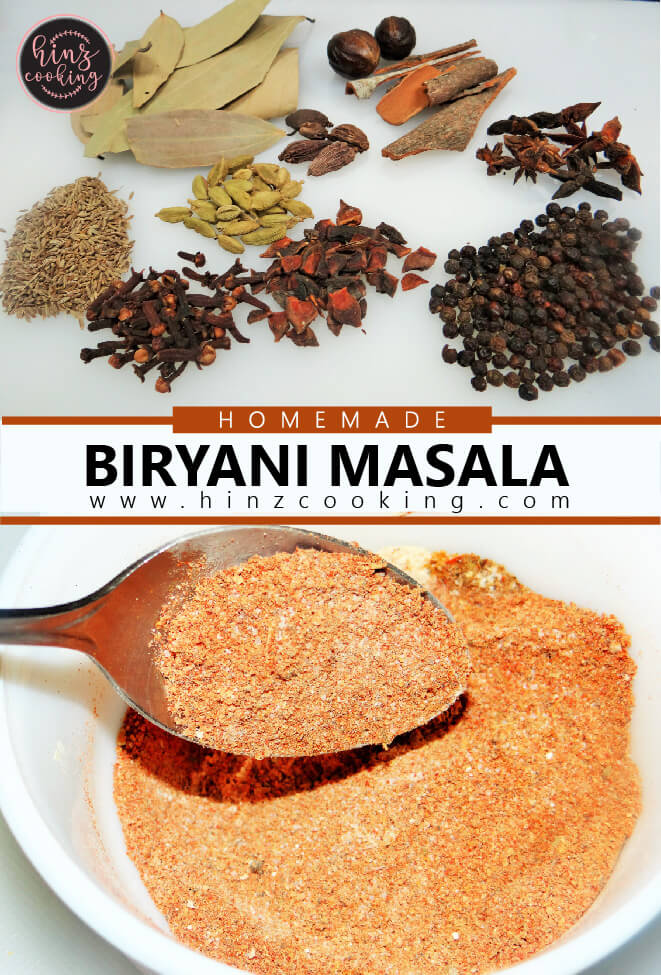
Homemade Biryani Masala Powder
Store-bought masala is convenient, but nothing compares to a freshly ground blend. I make a large batch once a month and store it in an airtight jar — it keeps for up to 6 months and makes every biryani noticeably better.
Quick Homemade Biryani Masala (grind together):
- 3 tablespoon coriander seeds
- 1.5 tablespoon cumin seeds
- 1 tablespoon black peppercorns
- 8–10 green cardamom pods
- 2 black cardamom pods
- 1 stick cinnamon (2 inches)
- 8 cloves
- 2 bay leaves
- 1 star anise
- ½ teaspoon nutmeg
- ¼ teaspoon mace
Toast the whole spices in a dry pan for 1–2 minutes until fragrant, cool completely, then grind to a fine powder. Store in an airtight glass jar away from heat.
👉 Full Biryani Masala Recipe with exact ratios and video
How to Make Biryani at Home — Step by Step
Making biryani can feel intimidating, but the process becomes second nature once you understand the stages. Here is my standard method that works for any protein.
Stage 1: Marinate the Protein
For chicken, marinate for a minimum of 1 hour at room temperature, or overnight in the refrigerator. Longer marination = deeper flavor. A good marinade includes:
- Thick yogurt (acts as a tenderizer and binder)
- Ginger-garlic paste
- Salt, red chili powder, turmeric, coriander powder, garam masala
- Crushed fried onions (birista) stirred into the marinade
For mutton or beef, marinate overnight — the extra time breaks down the tougher fibers and lets the spices penetrate deeply.
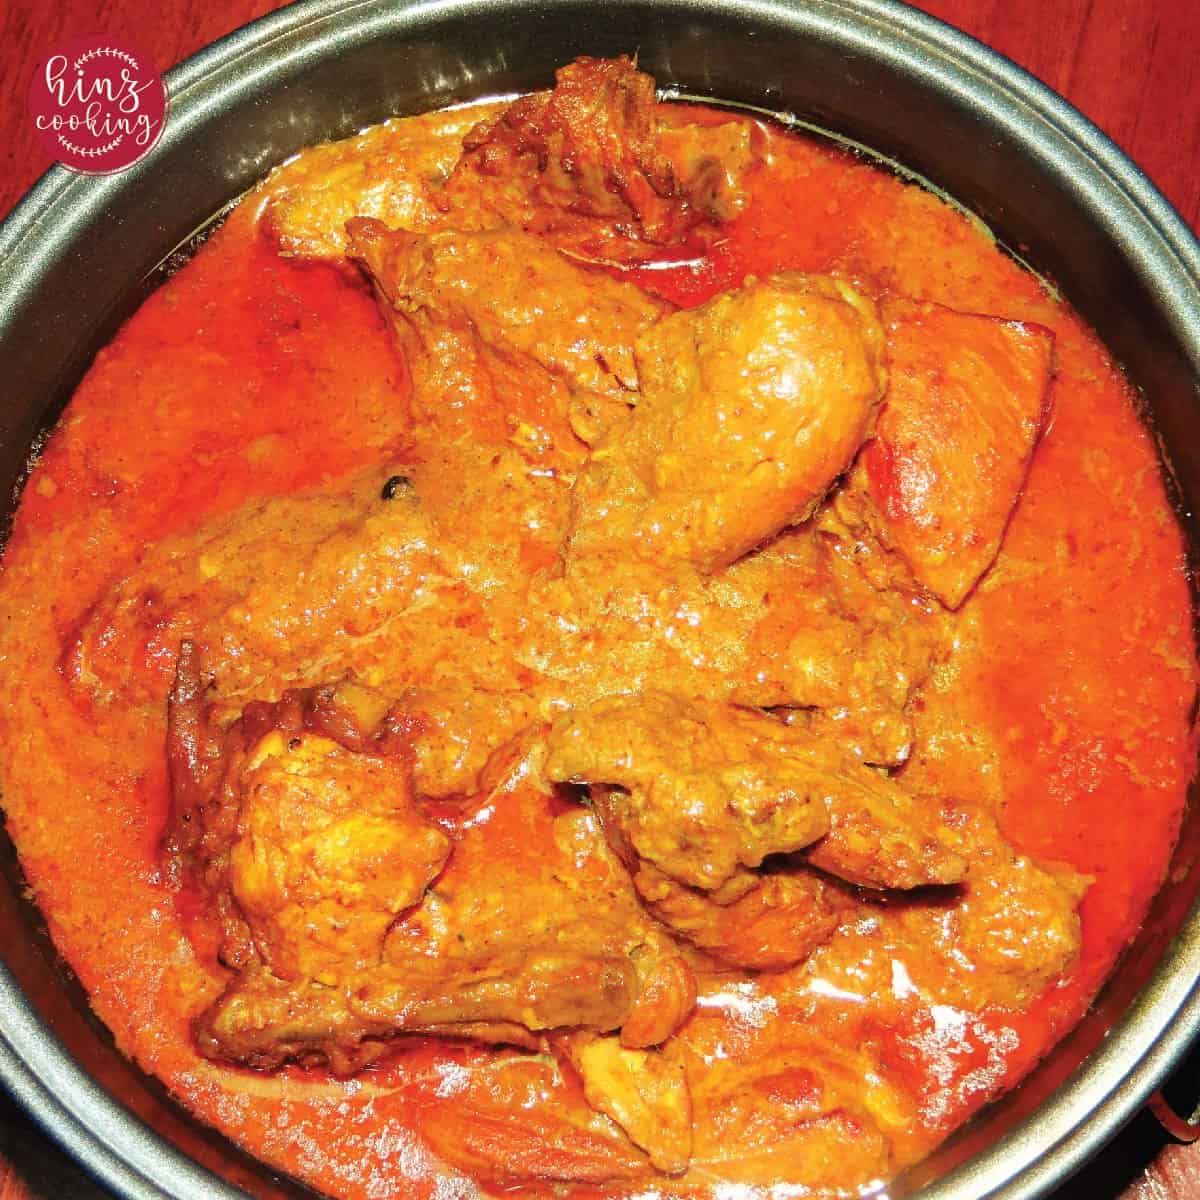
Stage 2: Build the Masala (Curry Base)
- Heat oil in a heavy-bottomed pot (handi or Dutch oven). Add whole garam masala (cumin, cardamom, cloves, cinnamon, bay leaves) and let them pop for 30 seconds.
- Add the marinated meat on high heat. Stir frequently.
- Once the meat releases its moisture, add peeled, chopped tomatoes and cook on high heat until oil separates.
- Add water, cover, and cook on low-medium heat until meat is fully tender.
- Chicken: 25–30 minutes
- Mutton: 50–60 minutes
- Beef: 60–90 minutes
- The final curry should be a thick, well-reduced masala — not watery. If it is too thin, cook uncovered for a few extra minutes to reduce.
Stage 3: Cook the Rice to 70%
This is the step that most beginners skip or rush — and it shows. The rice must be parboiled to exactly 70% before layering.
- Rinse basmati rice 3–4 times until the water runs clear.
- Soak for 20–30 minutes (Sella basmati: soak 45–60 minutes).
- Bring a large pot of water to a full boil. Add salt, whole spices (bay leaves, cardamom, cloves, cinnamon, cumin), and a few drops of oil.
- Add the soaked, drained rice and cook on high heat for exactly 5–6 minutes.
- Test a grain by pressing it between your fingers — it should break with some resistance in the center. That's 70%.
- Drain immediately through a colander. Do not rinse.
Why 70%? During dum cooking, the rice finishes cooking in the steam from the masala below. If you parboil to 80–90%, your finished biryani will have mushy, overcooked rice.
👉 Complete Basmati Rice for Biryani Guide — with video
Stage 4: Layer the Biryani
- Brush the inside of a heavy pot with ghee or oil.
- Add a thin base layer of rice to prevent the curry from burning on the bottom.
- Spread the meat curry over the rice base. Scatter fresh mint, coriander, sliced green chilies, and hand-crushed fried onions.
- Add the second and final layer of rice on top. Spread evenly.
- Drizzle saffron milk over the top (saffron soaked in 2 tablespoon warm milk for 20–30 minutes).
- Add a few drops of kewra water or biryani essence.
- Squeeze fresh lemon juice over the top.
- Add a final scatter of fried onions and herbs.
The layering order: Rice base → Curry → Herbs/garnish → Rice top → Saffron/essence/lemon
Stage 5: Dum Cooking (Steam Sealing)
- Place the pot over high heat for 2 minutes to build initial steam.
- Reduce to the lowest heat setting.
- If possible, place a tawa (flat griddle) under the pot — this distributes heat evenly and prevents the bottom from burning.
- Seal tightly with a lid. For an authentic touch, seal the lid with dough (aata).
- Cook on low for 20–25 minutes (chicken) or 25–30 minutes (mutton/beef).
- Turn off heat and let rest for 10–15 minutes before opening.
Stage 6: Fluff & Serve
Use a flat spatula or wide spoon to gently lift and fold the biryani from the edges inward — never stir aggressively, or you'll break the rice grains. Serve hot with raita, salad, and chutney.
Perfect Basmati Rice for Biryani
Getting the rice right is as important as the masala. Here are the rice fundamentals I always follow.
Which rice to use:
- Traditional long-grain basmati — classic choice; lighter, more fragrant, and beautiful when cooked correctly
- Sella (parboiled) basmati — more robust, firmer grain, harder to overcook; great for beginners and for long dum times
Always soak:
- Regular basmati: 20–30 minutes
- Sella basmati: 45–60 minutes
- Never skip this step; it allows even cooking and prevents breaking
Salt your water generously: The rice water should taste distinctly salty — like well-seasoned pasta water. Under-salted rice tastes flat no matter how good your masala is.
Do not wash after boiling: Rinsing cooked rice washes away the surface starch that helps the grains stay separate. Drain immediately and spread loosely to cool slightly before layering.
Pro Tips from My Kitchen
These are the lessons I have learned the hard way over years of cooking biryani.
- Use a heavy pot. A handi (clay pot), Dutch oven, or heavy-gauge stainless pot distributes heat evenly and prevents the bottom layer from scorching during dum. Thin aluminum pots are the enemy of good biryani.
- Make your birista (fried onions) properly. Finely slice onions and fry in plenty of oil on medium heat — not high heat — stirring constantly until they turn deep golden brown and crisp. Rushed, pale birista adds no sweetness or depth. This step cannot be shortcut, and it makes a measurable difference in the final flavor.
- Balance the salt across both components. The curry and the rice water both need proper seasoning. Under-salted rice ruins the balance of the entire dish. Taste both before layering.
- Cook the masala until oil separates. You will know the curry is ready when you see oil pooling at the edges of the pot, separated from the tomatoes and yogurt. This is bhunai (proper frying of the masala) and it creates depth of flavor that you simply cannot achieve if you rush past it.
- Use a flat tawa under the pot for dum. This is one of the most practical tips I can give. The tawa acts as a heat diffuser and almost eliminates the risk of burning the bottom layer of rice. Place it on the stove, set the pot on top, and forget about it.
- Rest the biryani before opening. The temptation to lift the lid immediately is real — but resist it. The 10–15 minute rest after turning off the heat allows the steam to distribute fully and the flavors to settle. The biryani will be noticeably better for it.
- Do not over-stir when serving. Fold gently from the outer edges inward using a wide, flat spatula. The goal is to combine the layers while keeping every grain intact. Vigorous stirring turns biryani into a pile of broken mush.
- Use fresh ginger-garlic paste. Pre-made paste from a jar is convenient, but fresh paste makes a noticeable difference. Blend equal parts peeled ginger and garlic with a splash of water and store in the refrigerator for up to a week.
Serving Ideas & Side Dishes
Biryani is a complete meal, but the right accompaniments take it to another level.
Raita (Essential)
A cooling yogurt dip is the classic biryani companion — it balances the heat and richness of the masala. My favorites:
- Mint-coriander raita — blended green herbs in yogurt; the most common pairing
- Boondi raita — crispy chickpea pearls in spiced yogurt; adds texture
- Plain cumin raita — simple, with just roasted cumin and salt; lets the biryani shine
👉 Green Raita Recipe (5 Minutes)
Salads & Fresh Sides
- Kachumber salad (diced tomatoes, cucumber, onion, lemon, and coriander)
- Thinly sliced raw onion rings with a squeeze of lemon and chaat masala
- Simple sliced cucumber and tomatoes — cool and refreshing
👉 5-Minute Healthy Vegetable Salad Recipe
Chutneys & Sauces
- Mint-coriander chutney (green chutney) — classic and bright
- Tamarind chutney — for those who love sweet-sour contrast
- Daqoos (Arabic tomato sauce) — especially good with Kabsa-style rice
Kebabs & Meat Sides (For Festive Occasions)
When I serve biryani at Eid or a family gathering, I always add a kebab tray alongside:
- Seekh Kabab — minced meat on skewers, grilled
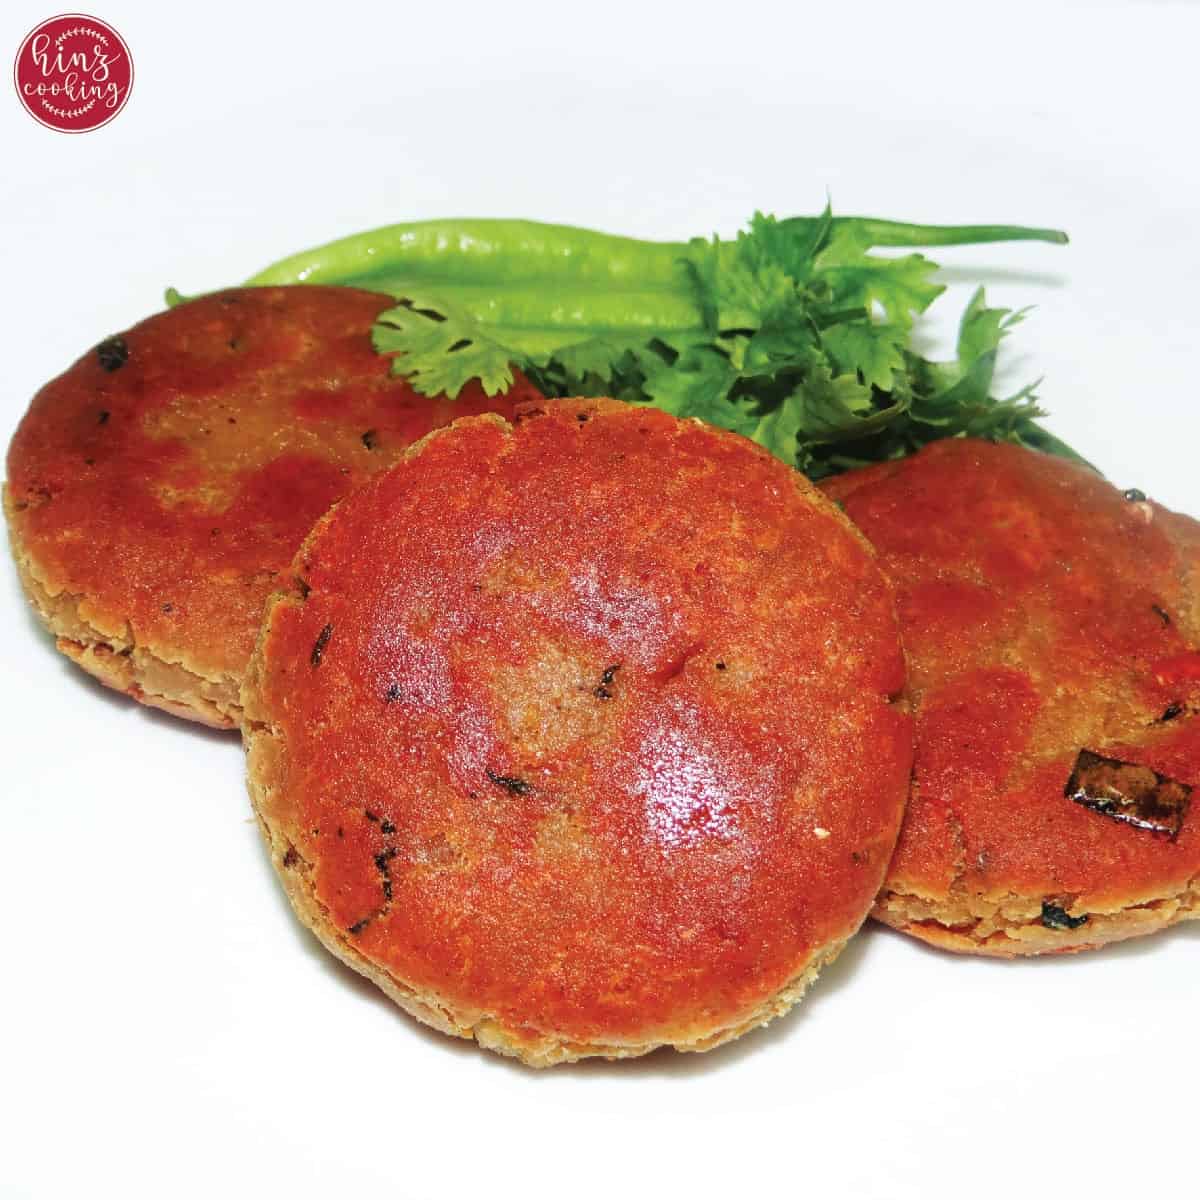
- Shami Kabab — pan-fried lentil and meat patties
- Chicken Tikka — for a full spread
How to Store & Reheat Biryani
Refrigerating: Cool biryani completely before storing. Transfer to an airtight container and refrigerate within 2 hours of cooking. Properly stored, biryani keeps for 3–4 days in the refrigerator.
Freezing: Biryani freezes well for up to 2 months. Portion it into airtight containers or freezer bags. Thaw overnight in the refrigerator before reheating.
Reheating on the stovetop (best method): Add 2–3 tablespoons of water to the biryani in a pot, cover tightly, and steam on very low heat for 8–10 minutes. This method restores moisture and keeps the rice fluffy and separate.
Reheating in the microwave: Sprinkle a tablespoon of water over the biryani, cover with a damp paper towel or microwave-safe lid, and heat in 90-second intervals, stirring gently between each. Do not overheat or the rice will dry out.
Do not reheat more than once. Food safety aside, repeated reheating destroys the texture of basmati rice.
FAQS
There is no single secret ingredient — authentic biryani is about the balance of many elements working together. That said, if I had to name the single factor that most separates a great biryani from a good one, it would be birista (properly caramelized fried onions). They add sweetness, depth, and color to both the masala and the layering. A close second is fresh mint — it brightens the entire dish and cuts through the richness of the curry.
Soak regular long-grain basmati for 20–30 minutes. Sela (parboiled) basmati needs longer — 45–60 minutes — because the grains are denser. Soaking allows even hydration so the rice cooks uniformly and extends beautifully during boiling without breaking.
Long-grain basmati rice is the standard choice — it has the fragrance, the length, and the ability to stay separate during cooking. For beginners or for long dum cooking, Sella (parboiled) basmati is more forgiving and harder to overcook. Both are excellent; choose based on your experience level and cooking method.
Biryani is a layered dish where rice is parboiled separately and layered with a cooked masala, then steam-cooked (dum) together. Pulao is a one-pot dish where the rice cooks directly in spiced stock or broth along with the meat. Biryani has a bolder, more complex flavor and a festive quality; pulao is lighter, quicker, and more everyday. See the detailed comparison table above.
Yes, absolutely — and beautifully so. Replace meat with chickpeas, paneer, firm tofu, or a combination of vegetables (potatoes, peas, cauliflower, carrots). The cooking method is identical. Vegetable biryani can be just as aromatic and satisfying as the meat version if the masala is built correctly.
Three things: (1) Parboil rice to exactly 70% — it should still have a slight firmness in the center when you bite a grain. (2) Do not use too much liquid in the curry — the masala should be thick, not soupy. (3) Use a heavy pot with a well-sealed lid so steam builds evenly rather than flooding the rice with condensation. Also ensure the rice was properly soaked before boiling.
The classic pairing is yogurt raita — mint-coriander, boondi, or plain cumin varieties. Beyond that: kachumber salad, sliced onion rings with lemon and chaat masala, green mint chutney, and for festive meals, seekh or shami kababs on the side.
When you lift the lid, you should see no steam rising from the sides, the rice should look cooked and fluffy on top, and you should smell a deeply aromatic biryani fragrance — not just raw spice. A gentle test: press a few rice grains near the top with a spoon — if they feel fully cooked and soft all the way through, the dum is done.
Yes — biryani actually tastes better the next day as the flavors meld overnight. Cook it fully, cool it, and refrigerate. Reheat gently with a splash of water on low heat. For a gathering, I often make biryani the evening before and reheat it in the oven at low temperature (160°C / 325°F), tightly covered with foil, for 20–25 minutes.
This usually means the masala was under-cooked. The bhunai stage — cooking the curry until oil separates from the tomatoes and yogurt — is essential for flavor depth. If you skip or rush it, the biryani will smell good from the whole spices but taste bland and raw in the curry component. Cook the masala thoroughly; it takes patience but makes all the difference.
Related Recipes
- Raita for Biryani — Green Yogurt Dip (5 Minutes)
- Homemade Biryani Masala Powder
- Crispy Fried Onions (Birista) — The Biryani Secret
- How to Cook Basmati Rice for Biryani (Step by Step + Video)
- Healthy Vegetable Salad Recipe
- Seekh Kabab Recipe
- Shami Kabab Recipe
- Best Biryani Tips and Secrets
You Might Like This


🥣 Is biryani your favorite dish?
⭐ Rate this guide below
💬 Drop your questions in the comments
📲 Follow along on Instagram for more recipes.
Biryani Recipes (Authentic Pakistani & Indian Biryani Guide)
Ingredients
Ingredients for Chicken Marinade
- 800 g Chicken Skinless with bones
- Whole Garam Masala:
- 1 teaspoon Cumin Seeds
- 10 Cloves
- 6 Green Cardamom
- 3 inches Cinnamon
- 15 Black pepper
- 1 teaspoon Salt
- 3 teaspoon Ginger Garlic Paste
- 1.5 teaspoon Red Chilli Powder
- 1 teaspoon Turmeric Powder
- 1 teaspoon Coriander Powder
- 1.5 teaspoon Garam Masala Powder
- 2 tablespoon Yogurt
- 1.5 tablespoon Brown Onion (Birista) Just crumble with hands - don't make paste
Ingredients for Biryani Curry
- 1.5 tablespoon Oil – 1 ½ Tbsp
- 2 Tomatoes skinless - cut into cubes
- Water – 200 ml for curry
- Rice 2 Cups
Ingredients for Rice Cooking
- 2 Bay Leaves
- 2" Cinnamon
- 5 Cloves
- 1 Aniseed
- 1 teaspoon Cumin Seeds
- Salt – 2 Tsp For Rice
Ingredients for Layering
- 2 teaspoon Fresh Coriander and mint chopped
- 2 Green Chilies sliced
- 2 pinches Red food color Substitute is yellow food color
- ½ Lemon Freshly squeezed (don't use bottled or canned lemon)
- 2 tablespoon Saffron milk
- 6 drops Biryani Essence substitute: kewra or rose water
Instructions
Marinade the Chicken
- In a deep bowl, add ginger garlic paste, salt, red chili powder, turmeric powder, coriander powder, garam masala powder and thick yogurt.
- Add freshly crushed crispy brown onion in yogurt bowl. Mix it well to combine all spices.
- Add chicken in yogurt marination bowl and give it a good mix.
- Cover and possibly marinade for 60 minutes at room temperature (overnight marination in refrigerator is best)
Preparation of Biryani Curry
- Now in a pan, pour oil and heat it up.
- Add whole garam masala (cumin, bay leaves, cardamom, cloves, and cinnamon sticks) in a heated pan. As it starts popping up, place marinated chicken and cook on high heat. Keep stirring!
- As the chicken starts releasing water then add peeled tomato cubes and cook on high heat. Keep stirring and cook on high heat.
- When oil begins to seperate the pan surface, add 200 ml of water and cover for 25 minutes to ensure the chicken becomes tender over low to medium heat.
Basmati Rice Preparation
- Wash & Soak: Wash the rice with tap water and Soak it for 30 minutes before cooking.
- Heat water in a large pot, then incorporate bay leaves, cardamom, cloves, a cinnamon stick, and salt. Cover the pot and allow the water to boil for 10 to 15 minutes to extract the aroma of the whole spices.
- After 10 minutes, drain the soaked rice and gently add it to a pot of boiling water. Cook on high heat for about 5 to 6 minutes until it's around 75% cooked. Strain the rice right away and set it aside.
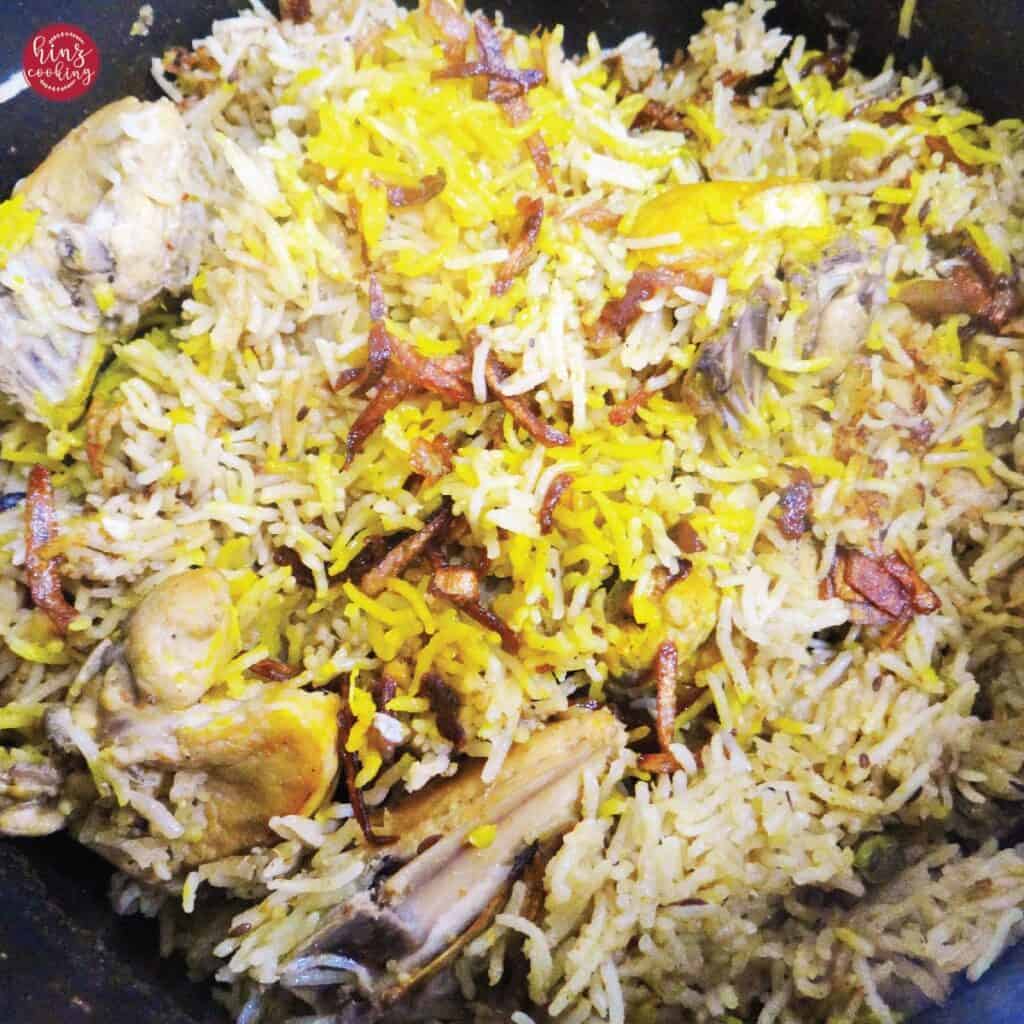
Layering & Steaming
- In a spacious pan, add ghee/oil and brush it on all sides of pan to avoid sticking of rice at pan bottom.
- Now place a first layer of cooked rice and pour the chicken curry over it. Spread the curry on all sides of pan with the help of spoon.
- Sprinkle freshly chopped coriander/mint and green chilies at the top of the curry layer.
- Repeat the same process and place the 2nd layer of rice and topped with chicken curry, and herbs.
- Now cover the top with remaining rice and spread it evenly on all sides.
- Sprinkle red food color and mix well with the help of a spoon.
- Squeeze fresh lemon juice
- Sprinkle hand crushed brown onion all over the sides of the pan.
- Pour a few drops of biryani essence.
- To make it more tempting and aromatic, pour saffron in lukewarm milk for an hour and pour it at the top of biryani.
Steaming (Dum)
- Securely cover the pan with lid and cook it on high heat for 2 minutes.
- After 2 minutes, turn the heat to low to make it steamy. (Dum)
- Keep it on steaming(dum) for 20 minutes.
- After 20 minutes, switch off the heat and let it sit for 10 to 15 minutes before serving. Use a spoon or small plate to gently mix the rice before serving.
- Best enjoyed with cooling raita and fresh salad.
Video
Notes
💡 Tips
- Always soak basmati rice for fluffy, long grains (Sela rice requires longer soaking).
- Adjust spice levels to your preference.
- For deeper flavor, cook mutton instead of chicken, but allow extra cooking time.
- Don’t over-stir during layering — this keeps rice from breaking.
Beef Biryani, Sindhi Biryani, or Hyderabadi Biryani, Pakistani Chicken Biryani.

Hinz
In love with Biryani then must try this recipe!
Shams
I love this biryani